Shade Drop Distance to Window Calculator
Calculate roller shade drop distance from window height, desired coverage, top reference offset, sill offset, roller tube diameter, hem clearance, and motor speed.
Detailed shade geometry breakdown
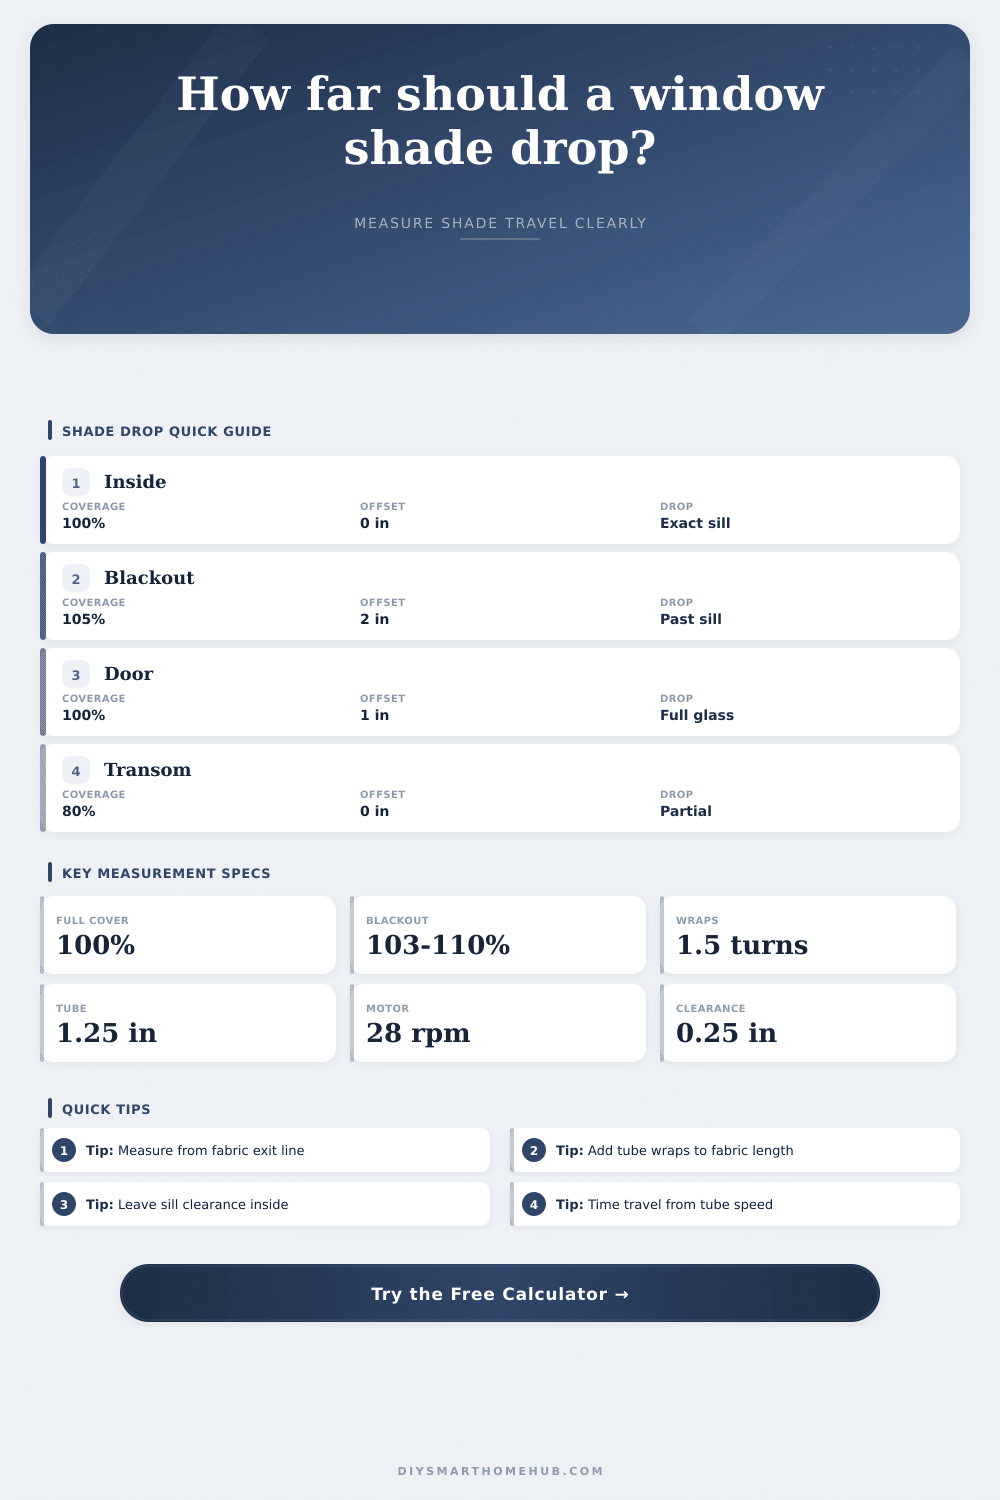
| Shade goal | Coverage input | Sill offset | Use when |
|---|---|---|---|
| Partial privacy | 60% to 85% | 0 in | Upper window stays uncovered for daylight |
| Full visible glass | 100% | 0 in | Inside mount shade stops at the sill line |
| Soft overlap | 100% | 0.5 to 1 in | Door glass, narrow trim, or light-gap control |
| Blackout overlap | 103% to 110% | 1 to 3 in | Outside mount shades covering trim and sill area |
| Projection or screen | 105% to 115% | 2 to 6 in | Fabric must pass below the visible opening |
| Roller tube diameter | Circumference | 1.5-wrap allowance | Typical shade size |
|---|---|---|---|
| 1.0 in tube | 3.14 in | 4.71 in | Small light-filtering shade |
| 1.25 in tube | 3.93 in | 5.89 in | Common residential roller shade |
| 1.5 in tube | 4.71 in | 7.07 in | Medium blackout or taller window |
| 2.0 in tube | 6.28 in | 9.42 in | Wide, tall, or heavier fabric shade |
| Tube and motor | Approx travel speed | 48 in drop | 72 in drop |
|---|---|---|---|
| 1.0 in tube at 28 rpm | 1.47 in/sec | 33 sec | 49 sec |
| 1.25 in tube at 28 rpm | 1.83 in/sec | 26 sec | 39 sec |
| 1.5 in tube at 28 rpm | 2.20 in/sec | 22 sec | 33 sec |
| 2.0 in tube at 20 rpm | 2.09 in/sec | 23 sec | 34 sec |
| Window type | Visible height | Top offset | Target drop |
|---|---|---|---|
| Bedroom inside mount | 60 in | 1.5 in | 61.5 in before sill clearance |
| Outside blackout mount | 58 in | 3 in | 64 in with 3 in bottom overlap |
| French door glass | 66 in | 1 in | 68 in with lower overlap |
| Kitchen sill stop | 42 in | 1 in | 42.75 in with 0.25 in clearance |
| High transom privacy | 24 in | 0.5 in | 19.7 in for 80% coverage |
You measure the window, purchase the shade, and complete installation. Then you see it, the bottom rail slamming into the sill. Why? Because you measured for the glass, not amount of fabric (i.e., the travel) needed for the shade.
Height of your window isn’t the only factor in drop distance. You have to consider the shape of the shade itself (roller tube). You also has to consider the shape of the mounting hardware and the shape of the room. Get any one wrong, and you’ve got either damage or gaps (or both), and/or you have shades that won’t close completely.
Why Your Shade Does Not Fit The Window
It all begins at the top. This means problem begins at the top. When most folks measure for new shades, they go from top of window trim down to the sill. They never consider where fabric comes out of roller tube. When a shade is mounted inside a recess, the exit point could be an inch or two above glass. When mounted outside, the gap gets wider. You can’t see that gap until your shade is down, but it determines everything else. Before cutting an inch off fabric, you have to compensate for dead space.
And then there’s the tube itself. It’s not a flat sheet; its a cylinder of wound material. And as the shade rolls down, layers stacks upon the tube. Inside that housing, they take up vertical space. The calculator accounts for this with a wrap allowance calculated by the tube diameter. A wider tube can holds more fabric volume with each rotation. Just to maintain same drop distance, you require additional length.
Sounds like a minor detail, right? But without accounting it, your shade will stop two inches shy of the sill. There is enough room for morning light to spoil your sleep. A bit more time is needed with inside mounts, which don’t have wiggle room at all. The bottom hem has to be a fraction of an inch off window sill. Measure right up to the sill and your rail will bind. That quarter-inch difference give the shade some breathing space to stop clean.
With outside mounts, you’ve got a little more leeway. Often there’s extra overlap, to prevent light sneaking through on either side. But even here precision makes it look sleek instead of like a bulky curtain.
There is another variable that no one thinks about until they are waiting anxiously for their smart home device to react. The speed. Unless your motorized shade teleports, which it doesn’t, its going to move at whatever speed is programmed into the motor (revolutions per minute) combined with whatever tube you’ve installed. The bigger the tube, the more distance it covers with each turn, which speeds up the cycle. The smaller tube, the longer it will take to lower same amount. Do you have tall windows? You may want to consider this: how long does it take to descend into darkness?
It depends on how the roll work physically. These standards are broken out by mount type in the reference table on the page. For example, it shows how a full blackout treatment operates according to different rules than a partial privacy shade. Geometry depends off the goal: To block all light = add overlap to sides & bottom. To keep a clean architectural reveal = trim each millimeter possible w/o compromising clearance. One number isn’t right. Only the numbers that fits your particular hardware work.
In summary, measuring for shades isn’t so much an exercise in inches as it is an exercise in mechanics. These thing are made up of moving parts that take up space. The fabric requires space to wrap. The rail takes up space to stop. And the motor has time to operate. If you think of installing shades as a system, not a static object, then the math make sense. Give yourself that additional minute to check your clearances and your offsets. One day, the shade will fall into place each and every time and your future self will thank you. There won’t be one shred of extra fabric blocking window; just the exact spot you wanted it to close.