Flooring Board Count Calculator
Estimate room area, board count, stagger waste, cut allowance, cartons, expansion gap effects, and obstacle deductions for plank flooring.
📌Project presets
📏Room and board inputs
Board count estimate
Fill in the room and board inputs to calculate a flooring takeoff.
Calculation breakdown
📋Flooring board spec grid
📚Reference tables
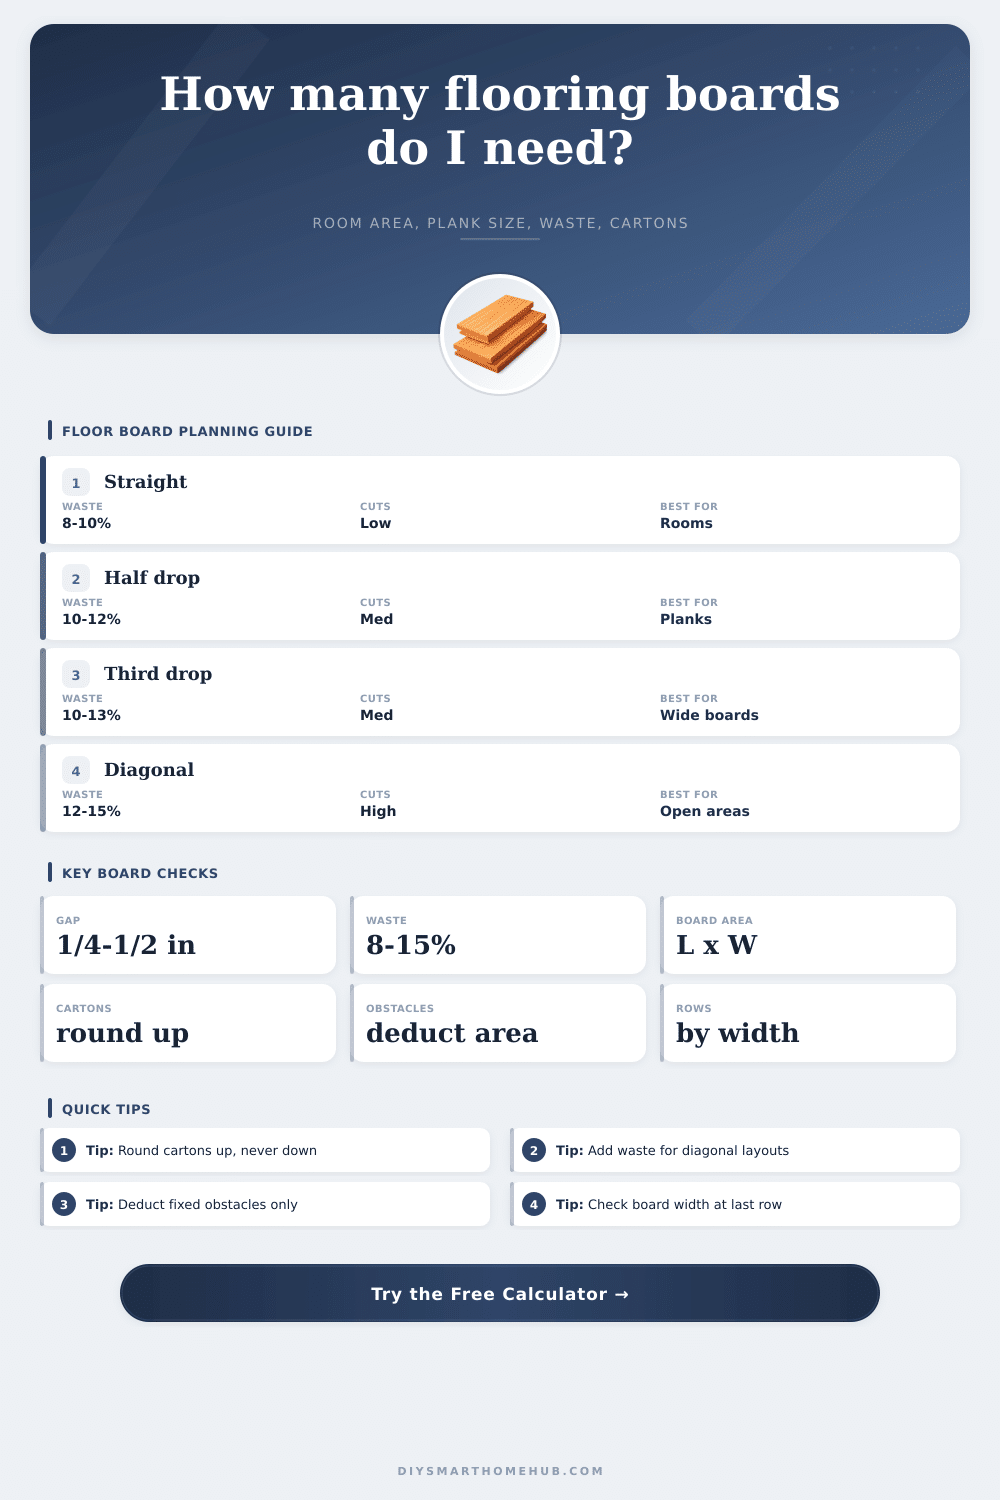
| Stagger pattern | Added waste | Cut behavior | Use when |
|---|---|---|---|
| Straight random starts | 2% | Lowest extra cut loss | Simple vinyl, laminate, or engineered plank rooms |
| Half-board stagger | 4% | Repeatable starters and more offcuts | Consistent modern plank layout |
| Third-board stagger | 5% | Balanced seams and moderate starter cuts | Wide planks and common floating floors |
| Variable random stagger | 7% | More sorting and rejected short pieces | Natural wood-look patterns |
| Diagonal layout | 12% | High perimeter cut loss | Feature rooms or angled visual direction |
| Herringbone-style planning | 15% | Very high end-cut count | Specialty plank patterns using short pieces |
| Board spec | Typical size | Coverage each | Planning note |
|---|---|---|---|
| LVP narrow plank | 36 in x 6 in | 1.50 sq ft | More rows, useful in small rooms |
| LVP wide plank | 48 in x 7 in | 2.33 sq ft | Common floating floor reference size |
| Laminate plank | 48 in x 8 in | 2.67 sq ft | Wide boards reduce row count |
| Engineered hardwood | 60 in x 7.5 in | 3.13 sq ft | Long boards reduce end seams |
| Solid hardwood strip | 84 in x 3.25 in | 1.90 sq ft | Narrow strips need more rows |
| Tile-look plank | 24 in x 12 in | 2.00 sq ft | Pattern alignment may add waste |
| Project size | Area before gaps | Common waste | Carton planning |
|---|---|---|---|
| Small bath | 35-50 sq ft | 12-15% | Round up; obstacle cuts dominate |
| Bedroom | 120-180 sq ft | 8-12% | Usually stable carton rounding |
| Hallway | 60-120 sq ft | 10-15% | More doorway and end cuts |
| Living room | 220-360 sq ft | 8-12% | Check longest runs and seams |
| Open plan | 400-700 sq ft | 10-15% | Carton rounding is less dominant |
| Adjustment | Calculator input | Effect | Check |
|---|---|---|---|
| Expansion gap | Gap each wall | Reduces covered floor size | Use product instructions for exact gap |
| Cabinet or island | Obstacle area | Subtracts fixed no-floor zones | Do not deduct movable furniture |
| Doorways | Transition cuts | Adds cut count, not area | Count thresholds and casing returns |
| Complex walls | Cut complexity | Adds waste percentage | Use higher setting for alcoves |
💡Takeoff tips
You are standing in an aisle of a home improvement store staring at all those lovely luxurius vinyl plank options. Dividing up the space seems easy enough, just do some math with your tape measure. But then you realize the walls aren’t really straight; doors create odd notches; you have to account for expansion gaps which makes the room even smaller before you can install one single plank.
Because if you don’t get it right, you’ll run out while installing (and be forced to go back to the store on a weekend). Or, you over-ordered, which means your garage is now littered with unwieldy boxes that won’t fit anywhere else.
How to Calculate Flooring Amounts Correctly
When you enter your board specs and room dimensions into the calculator, it does the math for you so that you don’t have to guess at any conversions. Then it totals up the wall-to-wall space and deducts the amount of breathing room needed around the perimeter. Floating floors requires an expansion gap because they expand/contract as humidity levels change. So if you forget about those three-quarter-inch gaps on either side, you’ll calculate perfectly on paper only to see your planks buckle along the baseboard in real life.
Most homeowners don’t realize they lose money on their layout choice. It’s tempting to go with a straight run because it wastes the least amount of material at the end. But going with a random look (like a stagger) costs you. The calculator include waste percentages based off half or third-boards stagger because those patterns result in shorter offcuts which are often thrown out. Going diagonal is beautiful but also expensive because of the lost material. Each wall cut involve cutting the board at an angle, which results in even more scrap than a straight rip.
Similarly, built-ins and kitchen islands (permanent fixtures) alters the equation. Since flooring can’t be installed underneath a fixture, you must subtract that space from the overall room. But cutting around these fixed features will result in odd-shaped pieces that you’ll likely never use again. To deal with this, the tool adds the number of fixed bases/doorways into the cut complexity allowance. More than anything else, it’s about accounting for more waste.
In long rooms, narrow strips result in more end cuts, more starting pieces per row, and typically higher waste. While narrow strips may appear classic, wide planks yield fewer rows and therefore fewer end cuts, while also resulting in generally less waste. You can see from the table on this page how various plank sizes affect coverage per carton. Compare the total area of boards to your available floor space to see if you are buying for convenience or for coverage.
The last bit of flooring math is Carton rounding. And you can’t purchase three-quarters of a carton. There are some times when it will say the number of boards is 42, and that you will be purchasing five cartons (each holding ten boards) and making do with the two leftover boards. In big open-plan jobs this can feel like a minor inefficiency, yet it means that you’ll be sure to have enough material to complete the final row and avoid panicking! Always round up, never down.
At this point, you’ll want to see if your intuition matches the estimator’s result. Do you think it’s too high? Review your deductions for obstacles and waste. Too low? Keep in mind that complex room geometry or herringbone pattern flooring require much more material than a basic rectangular shape. Your eye is the determining factor for the margin for error. So make sure to start off with proper measurements and realistic assumptions on how complicated your layout will be. Tweak it based off what you don’t know that you can only find once its all in place.
Remember those spare cartons. If you are halfway through building a wall and realize you ran out of boards, perfection becomes expensive. Stopping yourself from a headache tomorrow is the whole reason behind the little bit more waste today. You should of checked your measurements first.