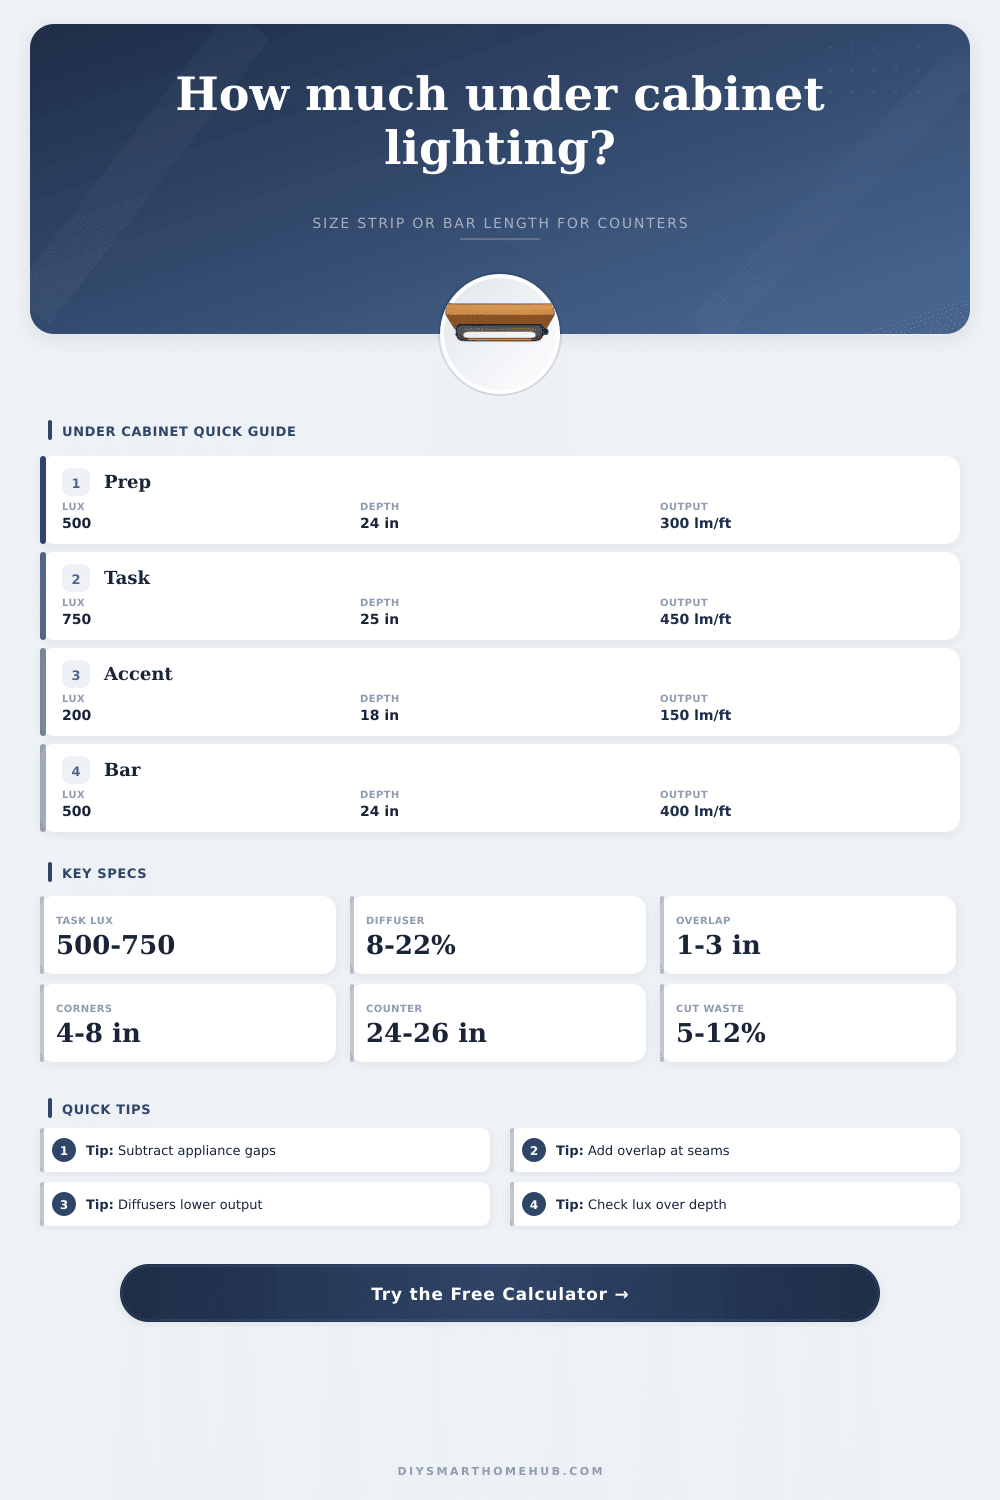
Under Cabinet Lighting Length Calculator
Estimate LED strip or light bar length from cabinet runs, skipped gaps, corners, segment length, overlap, diffuser loss, target task lux, counter depth, and output per foot.
Under-Cabinet Lighting Result
| Fixture type | Typical output | Typical segment | Best fit |
|---|---|---|---|
| Low-output accent strip | 120 to 220 lm/ft | 1 to 2 in cut pitch | Toe-kick, glass cabinet, night-light, and low-glare accent runs. |
| Standard diffused LED strip | 250 to 400 lm/ft | 2 to 4 in cut pitch | Most kitchen prep counters when spacing and diffuser loss are moderate. |
| COB dot-free strip | 300 to 500 lm/ft | 1 to 2 in cut pitch | Smooth lens appearance with short cabinet sections and visible channels. |
| Rigid light bar | 350 to 550 lm/ft | 9 to 24 in bars | Straight runs where whole bar modules fit neatly under cabinets. |
| Workshop task bar | 500 to 900 lm/ft | 12 to 24 in bars | Deep counters, hobby benches, or high-lux task surfaces. |
| Counter use | Target lux | Common depth | Calculator note |
|---|---|---|---|
| Ambient counter glow | 150 to 250 lux | 18 to 24 in | Often satisfied by shorter or lower-output runs. |
| General kitchen prep | 400 to 600 lux | 24 to 26 in | Good default for chopping, measuring, and appliance use. |
| Detailed task work | 700 to 900 lux | 24 to 30 in | Needs higher output or tighter mounting near the cabinet front. |
| Desk or hobby counter | 500 to 1000 lux | 24 to 30 in | Check diffuser and utilization because shadows matter more. |
| Display shelf wash | 100 to 300 lux | 10 to 18 in | Lower output can work if the illuminated depth is shallow. |
| Planning factor | Typical value | What it changes | When to increase it |
|---|---|---|---|
| Clear lens loss | 3% to 8% | Delivered lumens | Use for clear covers or shallow channels. |
| Frosted diffuser loss | 10% to 22% | Delivered lumens | Use for dot hiding and softer countertop reflection. |
| Segment overlap | 1 to 3 in | Ordered length | Use more at connector joints or uneven cabinet bottoms. |
| Corner allowance | 4 to 8 in | Ordered length | Use for jumpers, bends, L connectors, or separated bars. |
| Cut and fitting reserve | 5% to 12% | Order margin | Use higher reserve for many short cabinet sections. |
| Layout | Lit run | Typical segments | Planning signal |
|---|---|---|---|
| Mini bar upper cabinet | 36 to 48 in | 3 to 4 one-foot modules | Overlap can be a large share of short layouts. |
| Apartment straight run | 60 to 84 in | 5 to 7 one-foot modules | Usually simple unless a range hood interrupts the run. |
| Galley counter side | 84 to 120 in | 7 to 10 one-foot modules | Check sink or appliance gaps before ordering continuous strip. |
| L-shaped kitchen | 120 to 168 in | 10 to 14 one-foot modules | Corner allowances keep the lighted path continuous. |
| U-shaped kitchen | 180 to 260 in | 15 to 22 one-foot modules | Several corners and gaps usually increase reserve length. |
Kitchen remodels mostly fail in silence. They’re beautiful! The counters shine and the cabinets glow, yet each night as you cook dinner, you bang your hip into that island because of shadow where you cannot see. Enter under-cabinet lighting. Voila! The darkness transforms to workable space.
But there’s more to getting it correct than purchasing first strip that goes on clearance at the home improvement center. You must figure out how many lumens hits the countertop vs. Bounce harmlessly back up to the overhead cabinet door. Why does it matter? Knowing what goes into calculator (above) will save you from an embarrassing mistake and some money.
How to Plan Your Under-Cabinet Lighting
First, measure your lit runs. If there is a big range hood or refrigerator sticking out from the wall, don’t measure the whole wall. The light won’t shine through the stainless steel. Subtract these gaps. This is where most folks goes wrong. They either end up with more than they need, or they has to splice light strands, which can lead to darker areas.
Then there’s the fixture type (and its diffuser). For example, LEDs appears as a row of glaring dots, unless they’re put in something that softens them, like a frosted channel. That’s an aesthetic decision with real-world consequences: the diffuser traps some light, lowering the overall output by 10-20%. You could choose a higher-output strip, then install it under a heavy diffuser … and still not have enough brightness. The tool accounts for that loss automaticly; it adjusts down your expected lux level so what you get matches what you expect.
The other factor that most DIYers don’t think about is counter depth. The source does not state how counter depth is measured. The standard depth is twenty-four inches. So, if your counters is deeper than this, the light has further to travel. Because of the inverse square law, intensity drops a lot by the time it hits the rear edge.
For basic prep work, a standard setup will suffice. But if you are doing more detailed work like intricate woodworking or canning, you will want a fixture mounted closer to the front edge, a higher lux rating, or both. Mounting the fixture further forward will also remove shadows caused by your hands as well as change beam spread.
Be a little patient with segments and overlaps. LED strips come cuttable in lengths, typically six inch or two-inch lengths depending on model. Joining sections requires some excess length to tuck away the join point into a channel profile or under a cabinet toe-kick. A general rule of thumb for joining strips is one or two inches of overlap at each join. This maintains continuity and also looks cleaner.
Corner joins are more problematic. A rigid bar can’t be bent to go around an angle. Flexible strips can turn corners, but they often require a special connector kit or a short jumper wire to prevent voltage drop. Four to eight inches of allowance on each corner smooths this transition.
And don’t forget about the power supply capacity. Wattage depends on length. The longer your run, the more current it will draw. Running too many feet from one driver causes the end(s) to be dim because the voltage drops along the line. Totaling up the watts allows for selecting a transformer capable of delivering the juice without overheating/shortening its life. Oversizing by a little bit is better than replacing a failed/dimming power supply once installed.
It’s more than being able to see what you’re doing, it’s about making a mood as well as being safe. Under cabinet lighting properly installed can keep you from cutting your fingers off when chopping veggies. It makes the room feel warm instead of cold and sterile. Those extra few inches of light right over the working area can make a big difference in a functional kitchen different than an inviting one.
Time spent planning now equals money saved later. You don’t want to order short only to have to run back to the store, or worse, have a mismatched color for each batch. On the flipside, you shouldn’t of over-order because it’s just waste. Plan out how your unique layout will work using the inputs. Compare the number of segments to your wall space. Ensure the delivered light matches what you need for tasks. When all the numbers work then you know you’ll be installing confidently because every foot of light has a job to do.
Good lighting fades into the background. The fixtures shouldn’t be noticed, and you certainly shouldn’t notice them. Instead, all that matters is whether it’s simple to read a recipe or find your knife. Honest planning and measurement are the beginning of that seamless integration. Take the time now, don’t livig in the dark later.