3D Printer Print Time Calculator
Estimate total print time from model height, layer height, wall and infill path length, travel moves, acceleration overhead, nozzle size, material flow limit, layer changes, and queue time.
🖨Print Presets
⚙Print Time Inputs
📊Live Calculation Grid
📋Reference Tables
| Nozzle | Common layer range | Width range | Time effect |
|---|---|---|---|
| 0.25 mm | 0.06 to 0.14 mm | 0.28 to 0.34 mm | Fine detail, many layers, low flow. |
| 0.40 mm | 0.12 to 0.28 mm | 0.42 to 0.50 mm | Balanced speed and detail for most home prints. |
| 0.60 mm | 0.20 to 0.40 mm | 0.62 to 0.72 mm | Fewer layers and wider roads, flow limit matters. |
| 0.80 mm | 0.28 to 0.56 mm | 0.82 to 0.96 mm | Fast large parts if the hotend can melt enough plastic. |
| Material | Typical flow limit | Speed behavior | Planning note |
|---|
📝Preset Comparison
| Preset | Layers | Path per layer | Machine time |
|---|
✅Print Time Tips
It’s Friday evening at 9 PM. You decide to start a print which will be ready when you arrive on Monday morning. According to the software, it’ll need sixteen hours. You head home. Three days later, you come back to see a warped base and a half-finished vase. It’s failed halfway through and the printer has sat idle for twelve hours. It ran out of filament three layers in.
In many ways, this sums up the problem with additive manufacturing. It isn’t usually the hardware. Instead, it is the failure to consider invisible cost of time that simple estimators or slicers do not account for.
Why Print Time Is Hard to Guess
After plugging in your constraints/geometry into calculator it does the math for you. You won’t need to do any more conversions or guesswork with coefficients. But what about the why behind those inputs? Why do they matter?
Most people new to 3D printing think “print time = volume / speed”. That’s not true. It really is a compromise between your hotend/nozzle and physics (thermodynamics).
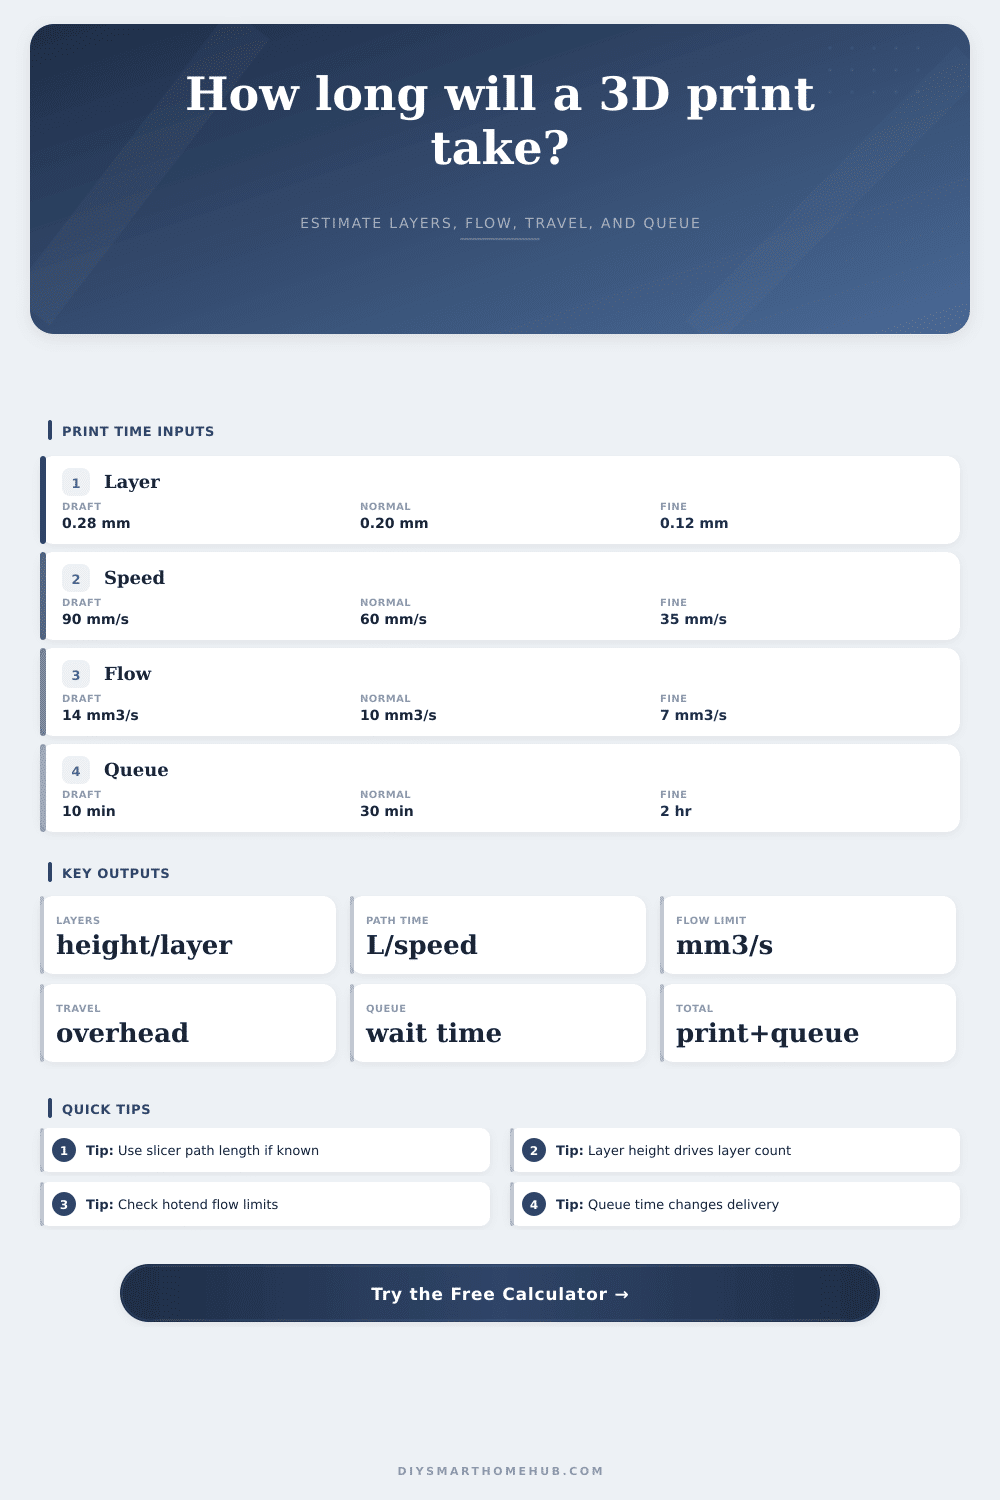
For example, what about the layer height? That seems like a trivial aesthetic parameter. But realy, layer height is a divisor: How many times does the nozzle move? The more finely detailed (or the higher your resolution), the fewer times. Halve the layer height, and you double the layers. This also doubles the pauses; the stops, the lifts of the Z axis, the extruder priming, the settling, and starting over. They adds up. A twenty-minute print can easily stretch into twenty-five minutes just from the overhead of switching layers. The graph below makes that point clearly in its chart.
Another limitation involve flow rate. Maybe your printer is configured to travel one-hundred millimeters-per-second. However, perhaps your hotend isn’t melting the plastic quick enough to fill such a wide area in that short amount of time. Then the firmware reduces its speed to match the maximum flow rate. That bottleneck turns a fast printer into a slow one. For example, maybe your standard PLA hotend can only push about ten cubic millimeters of plastic per second. But if you’ve got a long path to cover with a large extrusion width, then you need twelve cubic millimeters of plastic per second. When you outpace what your hotend’s heat limit will allow, the tool figures that out and reduces your actual speed to match. It’s a minor detail, yet it makes the difference between what you thought would take and how much it realy did.
A lot of that time is spent traveling. The clock keeps ticking every time it retracts tip or jumps to a new spot. All those non-printing movements eat up time and require power but they don’t lay down any plastic. Travel time can be on par with actual extrusion time when dealing with disjointed geometries or really complex models with lots of support material. For something like a miniature or a sparse lattice design, travel overhead will dominate the equation.
That’s why this calculator asks you to input different lengths for your walls, infills, and travels separately. It just won’t make an accurate estimate if you lump them all into one data point.
The nature of materials changes the printing speed completely. For example, to print TPU you have to slow it down to prevent under-extrusion caused by the material’s elasticity. Nylon prints require a different temperature and cooling pattern. Speed adjustments and flow limits is set by those material properties within the preset tools (but know your compromise). Crisp edges happen at faster speeds when using PLA. Stringy mess (and lack of dimensional accuracy) happens at faster speeds when using flexible filament.
The most human variable is Queue Time. The machine may be free in a shared makerspace or print farm, but the slot on the schedule isn’t. You shouldn’t of promised a part for Tuesday if the printer won’t fire up until Wednesday afternoon. Queue Time adds itself to the overall estimate of delivery which serves as a sort of safety measure.
Print time estimates aren’t so much about speed as they are about managing your own patience. If you know how long a print takes, you can manage around the machine’s downtime, turning it from an unreliable piece of equipment to something that can actualy produce parts. Start it up overnight, rely on its numbers, and leave. Your part will be waiting for you, just like you were promised, done and dusted.