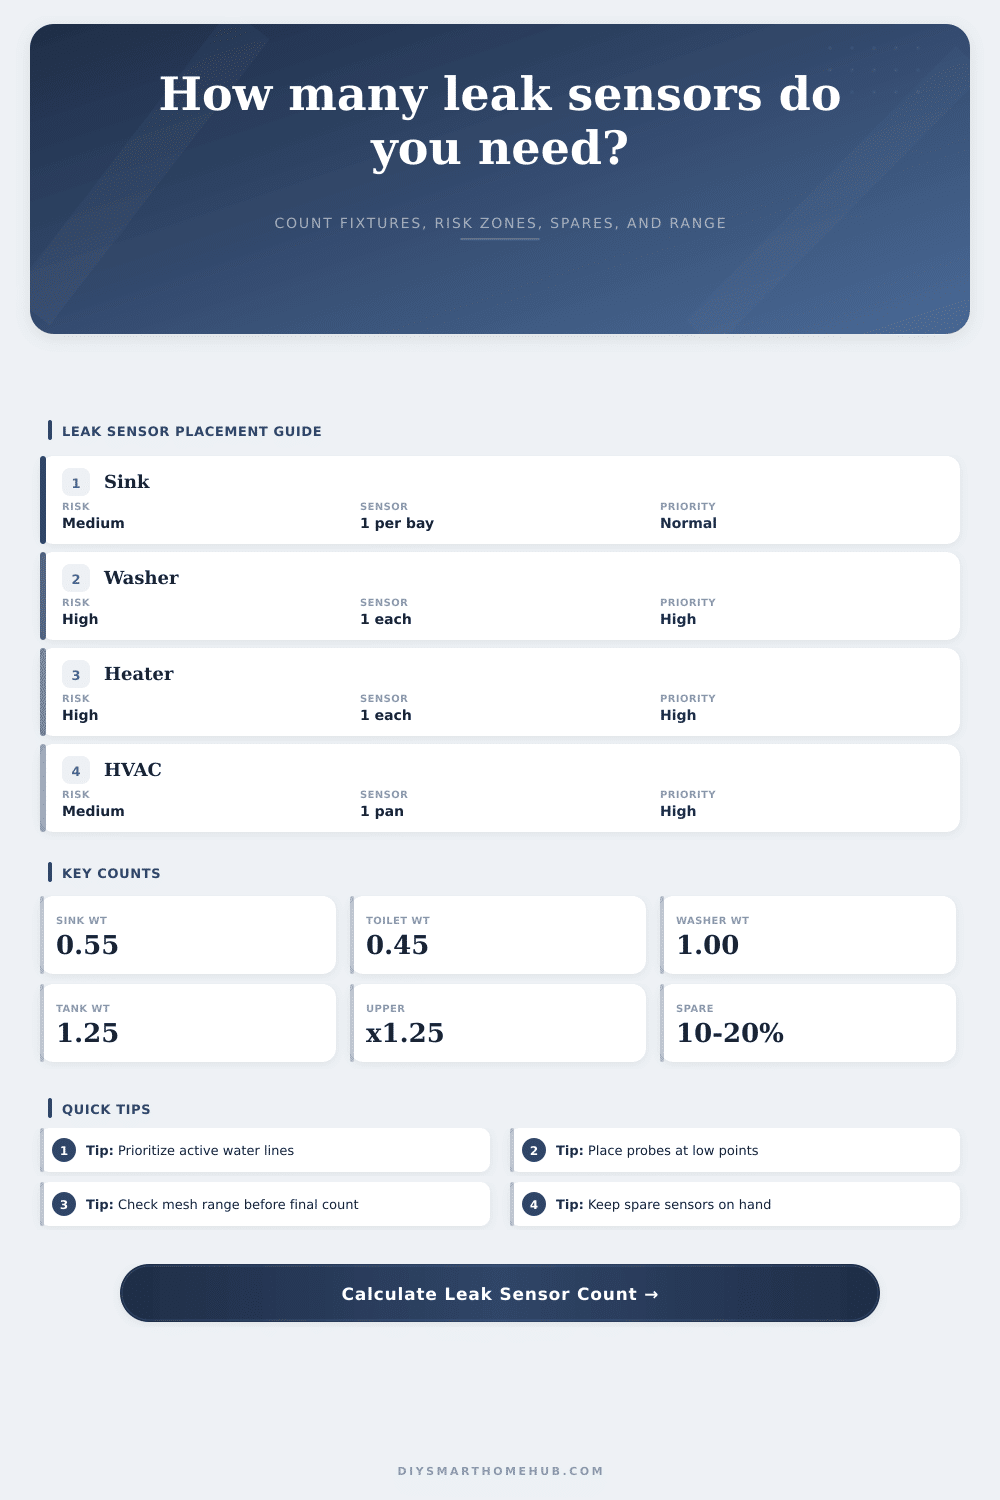
Water Leak Sensor Placement Calculator
Estimate how many leak sensors to place around fixtures, high-risk equipment, upper floors, and wireless range limits before you buy or assign devices.
Nearby fixtures can share a sensor only when water can reach the probe path.
Fixture count multiplied by leak likelihood and floor damage weighting.
Estimated reliable one-way route for the chosen protocol profile.
Extra powered nodes suggested when count or range pushes the mesh.
| Fixture group | Sensor grouping rule | Risk weight | Priority behavior |
|---|---|---|---|
| Sinks, vanities, wet bars | 1 sensor per 1 to 3 nearby cabinets by probe radius | 0.55 each | Normal unless upper floor or clustered with appliances |
| Toilets and bidets | Usually 1 per toilet; wide probes can share adjacent toilet rooms | 0.45 each | Medium because overflow can move quickly |
| Tubs, showers, bath alcoves | 1 per drain or curb area, grouped only when the floor slopes together | 0.50 each | Medium, higher on upper floors |
| Washers, dishwashers, ice makers | 1 per appliance because supply hoses and valves are active | 1.00 each | High priority in every scenario |
| Water heaters, softeners, sump pits | 1 per tank or pit; pair only with an 8 ft rope probe | 1.25 each | Highest priority due stored water and continuous feed |
| HVAC pans and condensate drains | 1 per pan, pump, or drain group | 0.80 each | High when ceiling, attic, or finished-space mounted |
| Profile | Modeled reliable route | Modeled device limit | Placement note |
|---|---|---|---|
| Zigbee point sensor | 35 ft through typical walls | 24 sleepy sensors per local cluster | Best with powered repeaters near kitchens and utility rooms |
| Zigbee mesh | 80 ft with repeaters | 48 sleepy sensors per mesh segment | Good whole-home default when smart plugs repeat well |
| Z-Wave LR or mesh | 100 ft modeled route | 64 sensors for this calculator | Useful for basements, garages, and mechanical rooms |
| WiFi leak sensor | 70 ft to access point | 32 sensors before WiFi planning review | Check battery drain and weak 2.4 GHz corners |
| Thread mesh | 60 ft with border router path | 32 sleepy sensors per border-router plan | Works best with enough mains-powered Thread routers |
| Rope probe kit | 55 ft route with 8 ft local probe | 20 kits before zoning review | Strong for mechanical closets and long pans |
| Scenario | Typical fixture mix | Sensor range | Priority locations |
|---|---|---|---|
| Studio or small apartment | 2 sinks, 1 toilet, 1 tub, 1 appliance | 5 to 7 sensors | Washer or dishwasher, sink cabinet, toilet, tub edge |
| Two-bath townhome | 4 sinks, 3 toilets, 2 tubs, 2 appliances | 9 to 13 sensors | Upper baths, laundry, dishwasher, heater |
| Family home with basement | 6 sinks, 4 toilets, 3 tubs, 3 equipment zones | 14 to 20 sensors | Washer, heater, sump, HVAC pan, kitchen |
| Large home or rental | 10+ wet fixtures plus multiple equipment rooms | 20+ sensors | Mechanical rooms first, then upper-level wet rooms |
| Input factor | Formula effect | Why it matters | When to override mentally |
|---|---|---|---|
| Probe radius | Raises grouping capacity from 1 to 4 nearby wet points | A larger probe can span cabinet pairs or shared mechanical pans | Do not group across walls, thresholds, or different floor slopes |
| Floor multiplier | Slab 1.00, main 1.10, basement 1.15, upper 1.25 | Damage potential changes the priority count | Raise priority for finished ceilings below any wet zone |
| Protocol capacity | Compares installed plus spare units to modeled sensor limit | Large counts may need repeaters or another hub segment | Use vendor limits for your exact hub if stricter |
| Spare units | 10 percent minimum, up to 20 percent on risky upper floors | Spares cover battery swaps, new appliances, or uncovered low spots | Add more for rentals or seasonal homes |
There’s this sound. Almost too quiet to notice at first but then it starts dripping. Then it turns into a steady stream. And now, the floor beneath you is a pool. It is big swimming pool.
Water damage isn’t cheap. It doesn’t stay in one room; it spreads all over the place (gravity doesn’t give a damn what room design you have). Sensor placement math isn’t about saving an appliance itself. It’s about saving the flooring and drywall, which are going to get wet no matter what.
How to Stop Water Damage
Everyone buys two sensors and attaches them beneath their toilet and kitchen sink. That’s all of it, they figure. That covers the whole house. Nope! By weighting various fixtures according to their risk of failing, the calculator above show you exactly what you’re exposed to.
Sure, maybe the sink seems harmless enough… But that washing machine hose is always pressurized and vibrating away. Because failures in such spots can be more disastrous than minor, the tool give a heavier risk weight to stored water tanks and other active appliances. Plug in the number of things you’ve got, then the system will tell you how many units you realy need to cover the danger spots, without overbuying.
But here’s the catch. What does it really measure? Faucet count isn’t it. It measures the route off the water flow. Higher risk applies if you’re living in a two-story town home or upstairs condo. Another person’s floor is at stake when you have a leak in your bathroom ceiling. That’s why there is also a floor multiplier in the calculator. It knows a drip on the wood subfloor above your neighbor is a liability, but a slab foundation drip are just an annoyance.
So how does that affect your priority list? Well, it moves things up where it should of be. Water heaters and HVAC condensate pans leap to the very top of the list because they hold lots of water which could cause quick flooding of mechanical closet.
The silent killer of smart home setups is range. Having the right amount of sensors isn’t useful if half of them aren’t working. They are also spread across a big house when you need them most. Mesh networking via wireless protocols such as Z-Wave or Zigbee solves this. Some devices communicates with other devices until they get to the hub. By using mesh network analysis, the tool estimates how possible a route is. Does your existing setup support the distance? Do you need repeaters? A sensor that cannot report is worse than no sensor at all because it gives you false confidence. You have false confidence that everything are okay.
Consider spares as well. While it may seem wasteful to purchase more than needed, batteries will die while you’re away, or you’ll misplace a sensor and then remember its there when the flood hits. A ten to twenty percent spare is a good insurance policy. A ten to twenty percent reserve is accounted for in the final tally of the calculator.
Remember, it isn’t just how many are installed. It’s whether you have a standing guard or not. That’s why it lays out the groupings in its reference tables (which are on that page). This is because you can’t put a sensor between a refrigerator and a washing machine through a cabinet wall. A sensor must have some sort of real-world path to the water. If the floor drops off on either side or has a threshold, the probe won’t get wet even if your room are flooded. This is because it sits where you expect leaks to happen, rather than where water actualy collects.
The tool makes you think like water. To defeat a leak, you have to plan for it. Find the weak spots before the pressure shows up. That’s what the calculator does; it provides you with a map of your weak spots. Guesswork becomes strategy. Disaster reaction becomes disaster prevention.
Better to have a sensor you don’t need than to need one you don’t have. Do protect the floor beneath you, respect the range limits, and keep the probes near the pipes. That’s how you keep the water where it belongs.