Vapor Barrier Permeance Calculator
Estimate effective vapor permeance, vapor pressure drive, and water vapor diffusion through membranes, coatings, foam layers, sheathing, and sealed or unsealed laps.
📌Assembly presets
⚙Vapor retarder inputs
Vapor diffusion result
Effective permeance and vapor flow are calculated from material resistance, layer count, seam factor, area, and vapor pressure difference.
🧱Membrane material grid
📐Reference tables
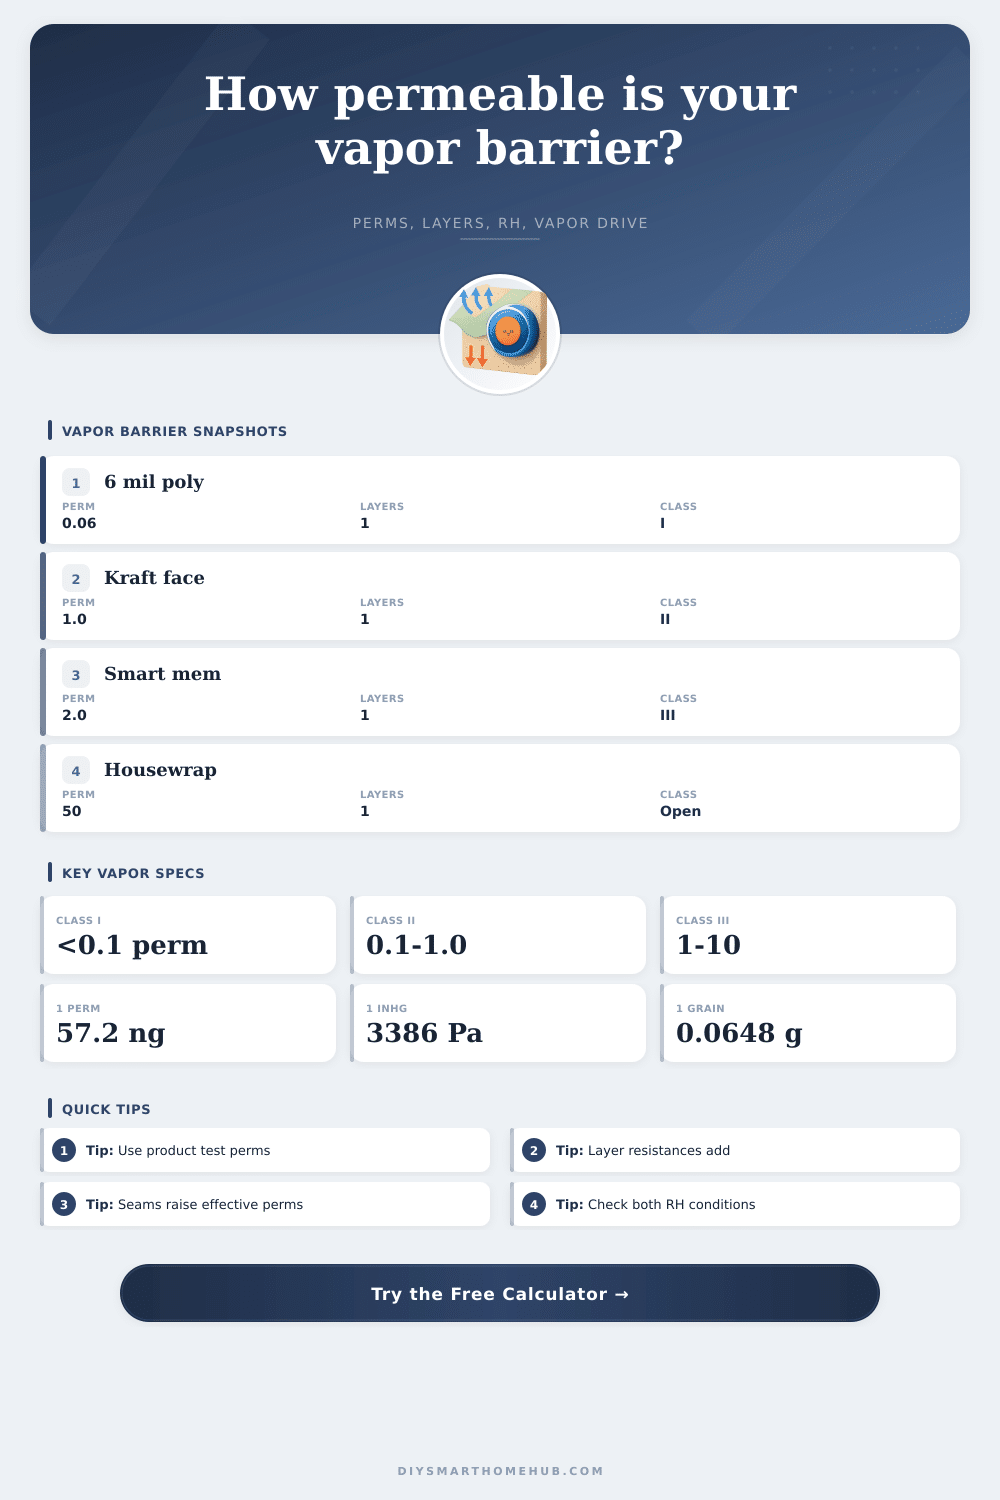
| Material | Typical perm | Reference | Use in calculator |
|---|---|---|---|
| 6 mil polyethylene | 0.04 to 0.08 | 6 mil sheet | Class I vapor barrier planning |
| 10 mil reinforced poly | 0.02 to 0.06 | 10 mil sheet | Ground and heavy-duty membrane checks |
| Kraft facing | 0.4 to 1.0 | Facing layer | Class II interior retarder estimate |
| Smart membrane | 0.8 to 10+ | RH dependent | Use product perm at the RH being checked |
| Vapor retarder paint | 0.4 to 1.5 | Dry film | Coating layer over gypsum or plaster |
| Housewrap | 20 to 60+ | Sheet | Vapor-open drainage plane comparison |
| Class | Permeance band | Meaning | Calculator signal |
|---|---|---|---|
| Class I | 0.1 perm or less | Vapor barrier | Very low diffusion |
| Class II | 0.1 to 1.0 perm | Vapor retarder | Low to moderate diffusion |
| Class III | 1 to 10 perms | Semi-permeable | Allows drying under drive |
| Vapor open | More than 10 perms | High drying potential | Diffusion can be substantial |
| Smart retarder | Variable | RH-sensitive behavior | Choose the tested RH point |
| Formula item | Equation | Unit | Purpose |
|---|---|---|---|
| Layer perm | Rated perm x rated thickness / actual thickness | US perms | Adjusts homogeneous layers by thickness |
| Series layers | 1 / sum(1 / perm layer) | US perms | Combines vapor resistances |
| Seam effect | Series perm x seam factor | US perms | Approximates leakage around laps |
| Diffusion | Perm x area x delta inHg | grains/hour | ASTM-style vapor flow estimate |
| RH vapor pressure | Saturation pressure x RH | kPa | Finds vapor drive from temperature |
| Seam condition | Factor | When to use | Effect |
|---|---|---|---|
| Fully sealed field | 1.00 | Continuous sheet, tested or meticulous sealing | Uses material permeance directly |
| Taped careful seams | 1.10 | Taped laps and sealed penetrations | Small increase in effective perm |
| Typical overlaps | 1.25 | Staples, laps, minor holes | Moderate diffusion allowance |
| Many penetrations | 1.50 | Services, outlets, complex framing | High effective perm allowance |
| Loose laps or tears | 1.80 | Unsealed, damaged, discontinuous membrane | Very high uncertainty |
💡Permeance calculation tips
A wall cavity is full of temperature and air pressure gradients pulling water around, so a vapor barrier isn’t as easy as some plastic sheeting. First, you have to be able to control moisture movement, then get it out without letting it rot wood or condense in your insulation. This is why permeance is important, and most folks aren’t aware of it. Class I and Class II is both limiting; most builders treat them as interchangeable and make material choice based solely on their class label. Once you enter assembly details into the calculator, it will compute for you, so you won’t have to guess whether kraft paper or polyethylene is better.
No need to know fluid dynamics, just know that it’s pressure difference, not just a humidity level, that drives vapor movement. At any given relative humidity, warm air contain higher moisture potential than cold air; that temperature difference provides the push. The seam factor is where theory meets practice. That’s where all those theoretical models break down and you need to be honest with yourself on the input end regarding construction quality. In a lab, even an imperfect sheet of poly could have close to zero permeance. However, if you install it in the field using laps that aren’t properly sealed and stapled shut, the effective permeance shoot up significantly. That’s why the tool allows you to pick a seam condition ranging from loose laps to fully sealed. If you’re doing a sloppy retrofit job with lots of holes, selecting a higher factor will help give you a realistic idea of your risk, not a false sense of security.
How to Manage Moisture in Walls
Intuition fails when dealing with complications of layering materials. Two layer do not just add up their resistances simply. Instead, they stack in series, which reduces total permeance and also diminishes drying capacity on either side. This latter is a key trade-off: You want to block winter moisture movement inward in a cold climate, yet perhaps let the wall dry outward in the summer. A smart membrane attempts to manage this by varying its permeance based off relative humidity, but it has limits. How various materials behave under typical test conditions is showed in the reference table.
The daily amount might sound alarming unless you think about how many grams of water that is per day. That doesn’t seem like much unless you know that a piece of lumber used for structural purposes have several pounds of water when it’s fresh from the mill. And the monthly or weekly total gives you a sense of what’s happening cumulatively across days and weeks… That’s where the damage occurs. Think of condensation as an accumulated thing, rather than an event. If you have a wall assembly that gets wet faster then it dries, at some point mold will move in, no matter how effective your first layer of vapor barrier looks.
Relative humidity is only part of it; a warmer indoors vs. A colder outdoors will also create greater vapor pressure (because temperature drives the difference more than humidity). That’s why so many folks misunderstand: “It’s 80 percent humidity outside,” they say, “I’m in trouble!” … But wait: it’s frigid out there, and vapor drive is practically nothing. However, a milder day occurs when indoor humidity is high and the outdoor temperature are cool. That can push plenty of moisture into that cool wall cavity.
In the field, permeance changes everything: A very low perm sheet that has lots of penetrations not sealed up acts less as a barrier than as a sieve. Mostly the trick is knowing what’s being measured. Lab tests use small, perfect samples, but real walls have large sheets of material. These walls also face wind pressure changes that cause both air leakage and vapor diffussion. You can’t seal every molecule, but you can manage bulk flow. To do this, focus on the continuity of your air barrier and make sure your strategy for managing the vapor retarder matches the climate zone.
You can choose a vapor barrier or a vapor open assembly. Your choice depends on whether you can dry the wall as you build it. Both concrete and wood are wet at their starting point, so they requires a route for that moisture. The calculator then shows you what happens if you seal it all up too well and trap that initial construction moisture and shows this diffusion rate for you. It won’t tell you what to build, but it will tell you what happens with water moving in and out of what you could of chose. This allows you to design your walls knowing how moisture will move through them so that they’ll survive the first wet season and not just look good on the blueprint.
It is a lot less about stopping water, and more about managing moisture by providing it a path that doesn’t destroy your house.