3D Printer Enclosure Ventilation Calculator
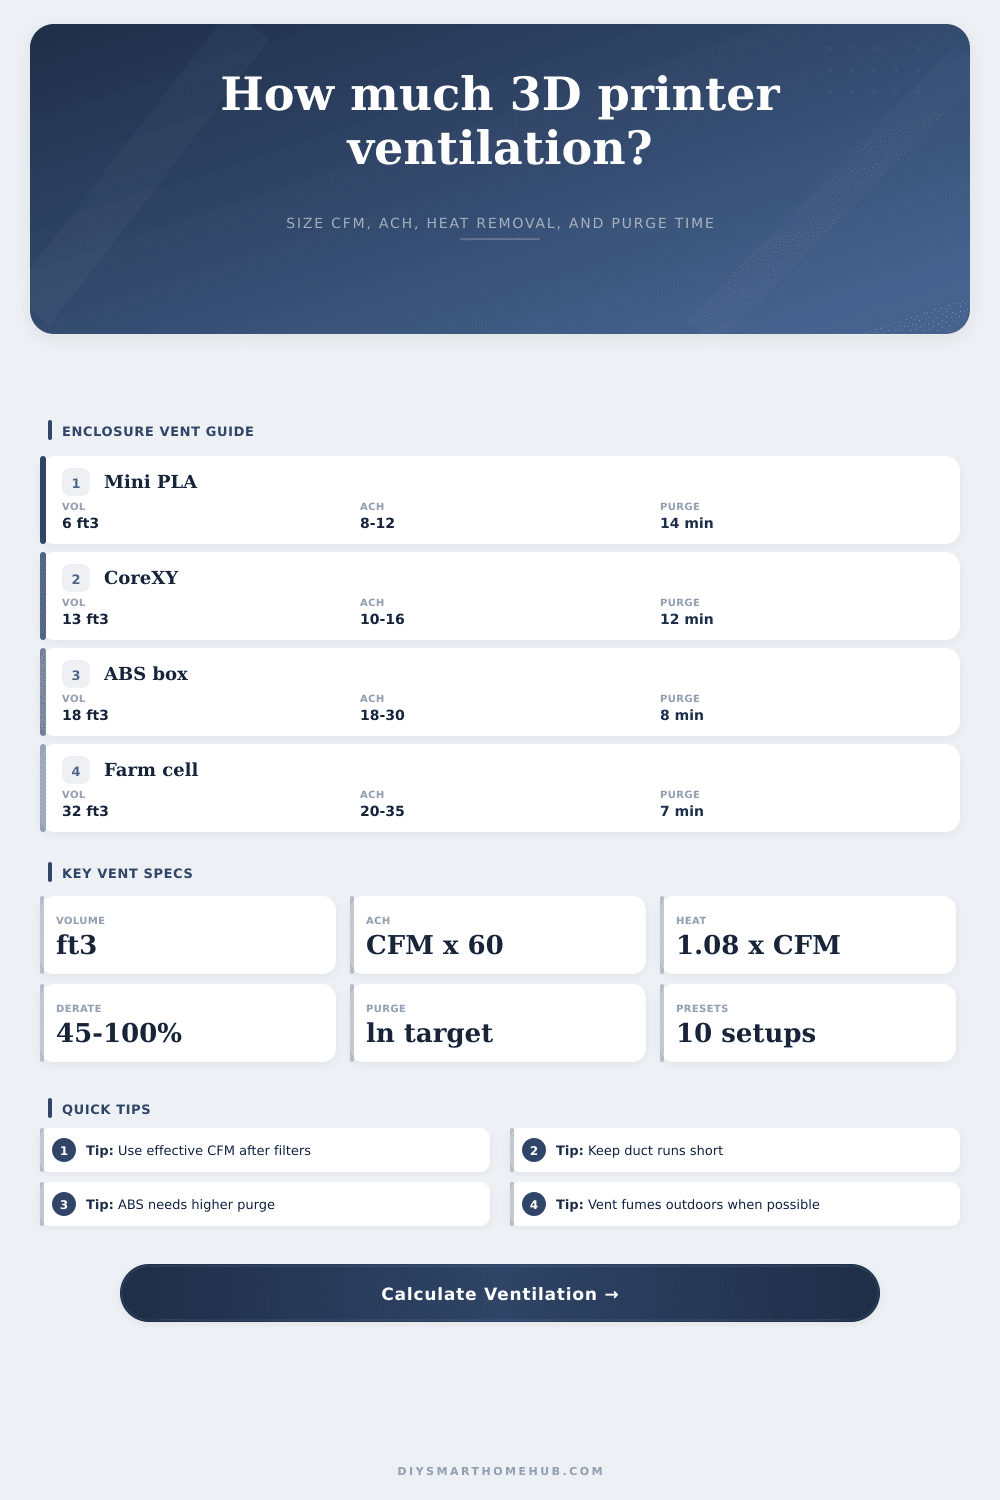
Estimate enclosure volume, effective fan CFM after filter and duct pressure derates, air changes per hour, heat removal capacity, and VOC purge time after a print.
📌 Enclosure presets Pick a starting point, then tune the inputs.
📏 Ventilation inputs Effective CFM drives every result.
🧮 Formula grid Core equations used by this calculator.
Volume is calculated from inside dimensions and converted to cubic feet for airflow math.
ACH uses effective CFM after filter pressure and duct derates, not free-air fan rating.
BTU/hr equals 1.08 times effective CFM times the target temperature delta in °F.
Purge minutes use exponential dilution: 60 times negative natural log of the target fraction divided by ACH.
📊 Reference tables Compare targets and derate assumptions.
Material ventilation targets
| Material | Suggested ACH | Purge target | Note |
|---|---|---|---|
| PLA | 6-12 | 10-20% | Low fume profile |
| PETG | 8-14 | 10% | Moderate odor |
| TPU | 8-16 | 10% | Moderate purge |
| Nylon | 12-22 | 5-10% | Warm chamber |
| ABS | 18-30 | 2-5% | High fume profile |
| ASA | 18-32 | 2-5% | High fume profile |
| PC | 16-28 | 5% | High heat load |
| Resin | 20-40 | 1-5% | Vent outdoors |
Filter pressure derate guide
| Filter path | Factor | Best use | Watch |
|---|---|---|---|
| Direct exhaust | 1.00 | Outdoor vent | Backdraft |
| Mesh grille | 0.92 | Short run | Lint loading |
| Prefilter | 0.84 | Dust guard | Clogs fast |
| Carbon can | 0.68 | Odor capture | Replace media |
| HEPA | 0.58 | Particle capture | Static rise |
| HEPA plus carbon | 0.45 | Mixed fumes | Fan margin |
Common enclosure sizing
| Enclosure | Volume | 20 ACH CFM | 30 ACH CFM |
|---|---|---|---|
| Mini desktop | 6 ft³ | 2 CFM | 3 CFM |
| Ender tent | 11 ft³ | 4 CFM | 6 CFM |
| CoreXY box | 18 ft³ | 6 CFM | 9 CFM |
| Large cabinet | 28 ft³ | 10 CFM | 14 CFM |
| Farm cell | 48 ft³ | 16 CFM | 24 CFM |
Heat removal examples
| Effective CFM | At 10°F | At 15°F | Approx watts |
|---|---|---|---|
| 10 CFM | 108 BTU/hr | 162 BTU/hr | 32-47 W |
| 20 CFM | 216 BTU/hr | 324 BTU/hr | 63-95 W |
| 35 CFM | 378 BTU/hr | 567 BTU/hr | 111-166 W |
| 50 CFM | 540 BTU/hr | 810 BTU/hr | 158-237 W |
| 75 CFM | 810 BTU/hr | 1215 BTU/hr | 237-356 W |
💡 Practical calculation tips
Small axial fans can lose much of their rated airflow once a dense HEPA cartridge, carbon bed, grille, or narrow duct is added.
ABS and ASA often need a warm chamber while printing, so many setups run lower airflow during printing and a stronger purge after completion.
The exhaust fan should pull slightly more air out than leaks can push into the room, especially for styrene-heavy materials.
When fumes discharge outdoors safely, filter derate may be smaller, but heat loss can be larger during long high-CFM prints.
You built the enclosure so it wouldn’t warp your prints. This is for plastics such as ASA or ABS, which need to be heated to stay stable. After printing, you notice air inside your enclosure has become thick with a plastic and chemical smell because you trapped fumes in the box. Yep, that’s right, you accidental trapped the fumes inside the box.
Is it just stinky? Or do the fumes pose some kind of danger? It all depends on whether fan is spinning, but even more important is how much air flow through the enclosure.
How to Keep Air Clean in Your Printer Enclosure
People typically think that a fan outputs amount of airflow it’s rated for. In most cases, they’re mistaken; there is resistance from ducting and filters. Air must travel through tight spaces in HEPA filter, which can cut volume in half! Other materials like activated carbon scrub odors but also reduces airflow. Don’t guess your airflow with pressure losses. Consider the resistance and use calculator to find out what your real airflow is.
Fan speed is also important, but so too is size of enclosure. A big cabinet containing a huge printer will require more airflow then a tiny desktop box. Dilution through air changes per hour will ensure enough air move to prevent contaminants from building up.
For example, if you’re trying to purge volatile organic compounds (VOCs), you should of understand the time required for the purge. Five minutes of running your fan isn’t necessarily going to cut it. The math may reveal that it takes twenty minutes to remove ninety percent of nasty air.
What else? Heat. People tend to forget about that one. To help in adhesion, enclosures retains heat. Too much heat can be harmful to electronics though. It needs to be removed via a ventilation system which will extract enough heat to keep the internal temperature within a safe delta of room temperature. Filters can become clogged or simply block the fan which then cannot extract sufficient air to transport the heat.
Depending on material being used, you may need an aggressive amount of air changes. Look at the reference table for various materials’ air change requirements. PLA’s pretty safe. ABS and ASA emit styrene which require more aggressive ventilation.
When printing, it’s tempting to just leave fan on max the whole time. But if your material requires warm air, then shooting cold air at it will result in layer failures and even warped prints. Instead, adjust airflow so it doesn’t cool down bed but still keeps things under control when printing. Afterward, kick up the fan to full blast for a good purge session.
That way, you get the best of both worlds: protecting the print while also clearing out air so it’s safe to breathe afterward.
There’s a tradeoff when it comes to filters: Airflow vs cleanliness. To be healthy, you want your filter to capture both gases AND particles (get one that has both carbon and HEPA). This setup causes a lot of resistance. To get enough airflow through this stack, you’ll need a bigger fan. Without a big enough fan, there is no airflow so your filter won’t do its job. They purchase a nice filter but then run it with a weak fan. That means no airflow and stale air.
Remember ventilation, control the environment in the enclosure so that you can breathe safe air outside of it. Setting this up does not require being an HVAC engineer. All you have to know is that airflow is reduced by resistance. If you don’t know where to start, use the presets as a baseline, tweak them based off what filters and fans you choose. Let the numbers tell you how to set it up.
Do it right the first time and avoid the headaches later. Make sure the air keeps flowing and temperature stays under control so the printer can do its job well.