Weatherstripping Length Calculator
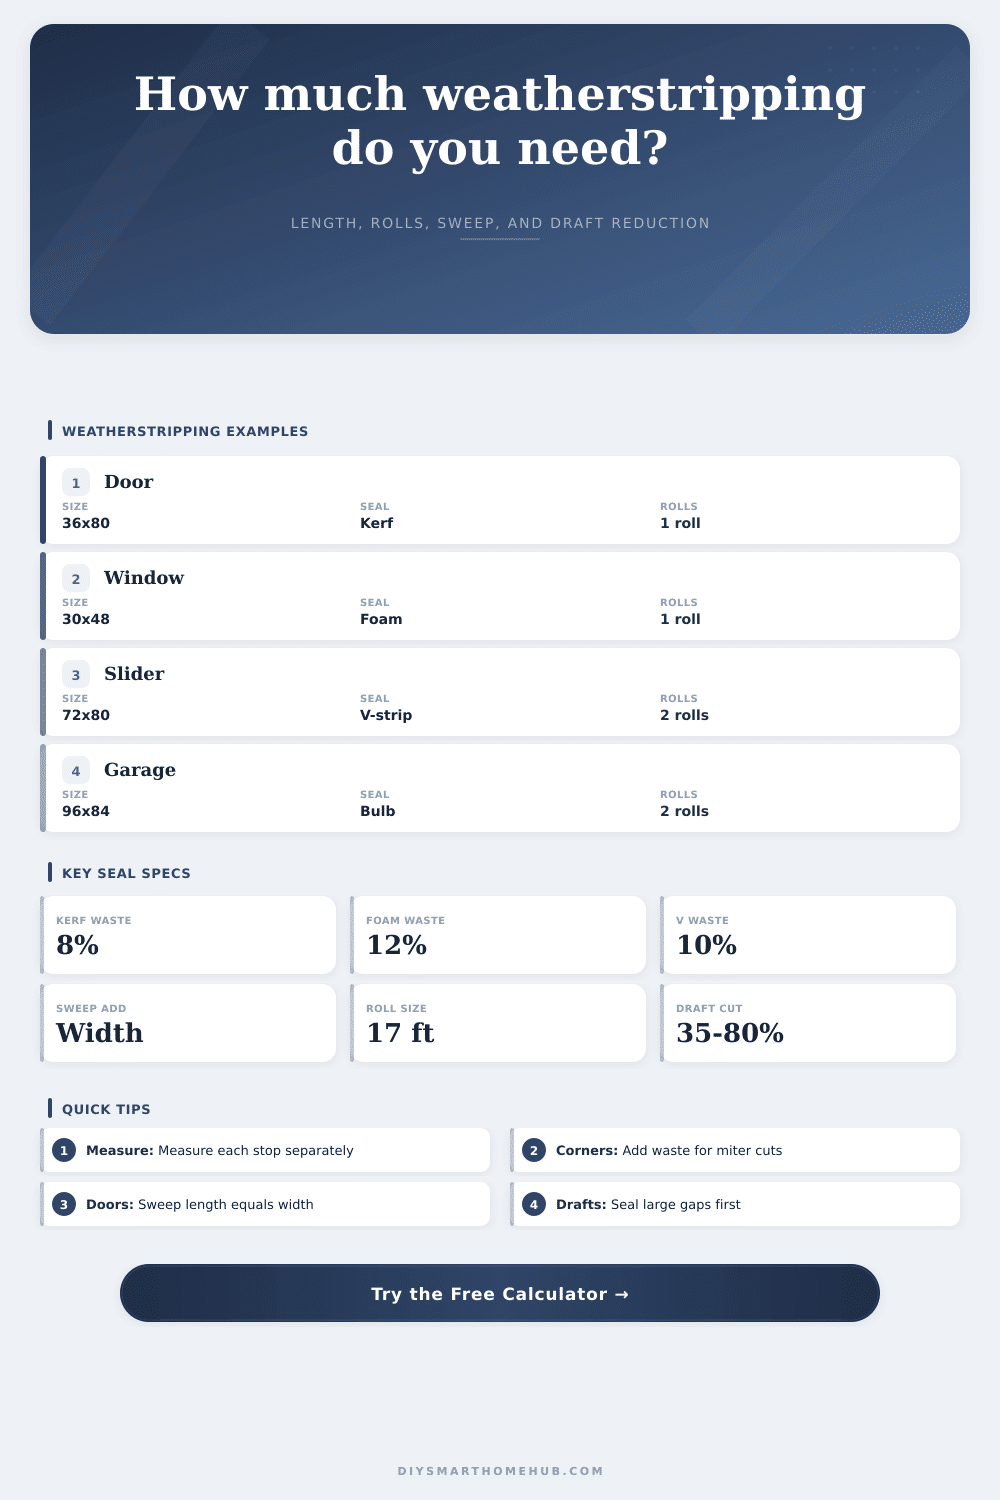
Estimate door or window weatherstripping from perimeter, seal style waste, threshold sweep length, roll count, material cost, and a practical air leakage reduction range.
Project Presets
Calculator Inputs
Results
Material Specs
| Seal type | Built-in waste | Typical reduction | Best fit | Cutting note |
|---|---|---|---|---|
| Kerf bulb seal | 8% | 65-80% | Modern door jambs with slots | Cut square; press into kerf after test fitting. |
| Self-adhesive foam | 12% | 35-55% | Light window and utility-room drafts | Add extra for failed peel-back and corner overlaps. |
| V-strip tension seal | 10% | 45-65% | Double-hung windows and door stops | Allow extra at hinges and meeting rails. |
| Silicone bulb seal | 8% | 60-78% | Exterior doors with uneven gaps | Cut slightly long, then trim compression fit. |
| Felt strip | 15% | 25-40% | Low-friction indoor sash contact | Extra waste covers frayed cut ends. |
| Magnetic door seal | 10% | 70-85% | Metal-clad or kit-compatible doors | Measure jamb sides separately before cutting. |
| Tubular vinyl gasket | 9% | 50-70% | Older doors and storm doors | Keep corner bends relaxed, not stretched. |
| EPDM rubber strip | 7% | 55-75% | Durable exterior sealing | Use sharp cuts to avoid crushed ends. |
| Project type | Length formula | Sweep formula | Roll formula | Air leakage formula |
|---|---|---|---|---|
| Door with sweep | Count x (2 x height + width) | Count x width | Ceiling(seal length / roll length) | Gap area x exposure x seal efficiency |
| Door without sweep | Count x (2 x height + width) | 0 | Ceiling(jamb seal / roll length) | Uses jamb length only |
| Window | Count x 2 x (width + height) | 0 | Ceiling(perimeter with waste / roll length) | Uses full sash perimeter |
| Sliding or garage door | Count x 2 x (width + height) | Optional bottom width | Ceiling(total seal with waste / roll length) | Higher exposure raises leakage score |
| Preset | Opening | Base seal | Waste | Rolls | Sweep | Estimated total |
|---|
Sealing is a high-return investment. It’s an afterthought purchase. You buy a roll and hope it works, only to find out later that the weatherstrip was the wrong length for one of the sides, usualy the latch side. Most of the frustration isn’t with installing it but with the arithmetic. How can you know how to seal something without knowing how wide it is? How do you know how wide anything is unless you measure it…and then how do you measure it if there are corners and waste to consider?
Weatherstripping doesn’t come in custom sizes, folks. Make a plan before you start. That’s where the calculator comes in. On this page, it replace all that guessing. Enter your window/door dimensions and it converts those to a shopping list for you.
Why You Need to Measure First
You’ll have to know what the thing is measuring before entering your figures. Basically, it’s the perimeter of the sealable surface. In the case of a normal door, it would be top plus two sides. The bottom are different because it needs a separate item called a threshold sweep. In the case of a window, it will calculate based off the entire perimeter of the sash. The software automaticly adjusts for that, however so long as you choose the proper mode when doing the calculation.
Selecting the proper kind of opening help ensure that the equation reflects your hardware. But this calculation change based on the material. Weatherstripping isn’t created equal. Kerf seals (which press into a slot in the jamb) is durable and clean. And they stick well, so there’s little waste (since they cut squarely). Foam tape is messier but forgiving. It stretches, tears, and frequently won’t stick until second or third attempt.
The calculator assume more waste for foam than other rigid materials, which make sense: your initial cut probably won’t be right. If you don’t account for waste, you’ll be out of material long before reaching the finish line. A lot of folks just measure the gap and purchase exactly that length, but that’s not real life, real life need a buffer.
Another component is draft reduction. Depending on the exposure of the opening and size of the gap, the tool will tell you roughly how much air leakage you’ll prevent by stopping it. That’s important both for comfort and to your energy bill. A big gap on an exterior door exposed to the prevailing winds is not going to get sealed with the same force as a tiny crack on an interior door. Dust, noise and cold air will flow through a big gap. It’s a high-return investment to seal it up. To reflect that reality, the calculator include exposure multipliers. You’d want to seal a garage door in a stormy climate more aggressively then a bedroom window in a quiet neighborhood.
Take a look at what comes back; pay attention to the roll count. You’ll notice that weather stripping is available only in set lengths (typically 17 or 20 feet). That’s because the tool rounds up: you want just one length, and it gives you some extra material for that. Splices are never great, so if you have too much material, fine; but don’t have any! Use the cost estimate as a sanity check to avoid discovering that you need not one roll but four.
You can start fast with preset buttons. For those of us that has a basic front door, the kerf preset will get you going. But this is where the planning comes into play with custom inputs. Measuring the actual contact path (not the face of the trim) matter. The seal goes where the door hits the frame, not on the wood molding. This makes a big difference and removes the need for a trip to hardware store.
At its core, weatherstripping is about control. It controls the comfort, the noise, and the air that come into your house. The math is just how to get there. After you figure out what material to use and how long it should of been, the rest is simple. It takes a little patience, a steady hand, and a sharp knife.
When the seal touches the surface, there’s no more draft. It’s a small thing, but it makes a difference.