Conduit Bend Offset Multiplier Calculator
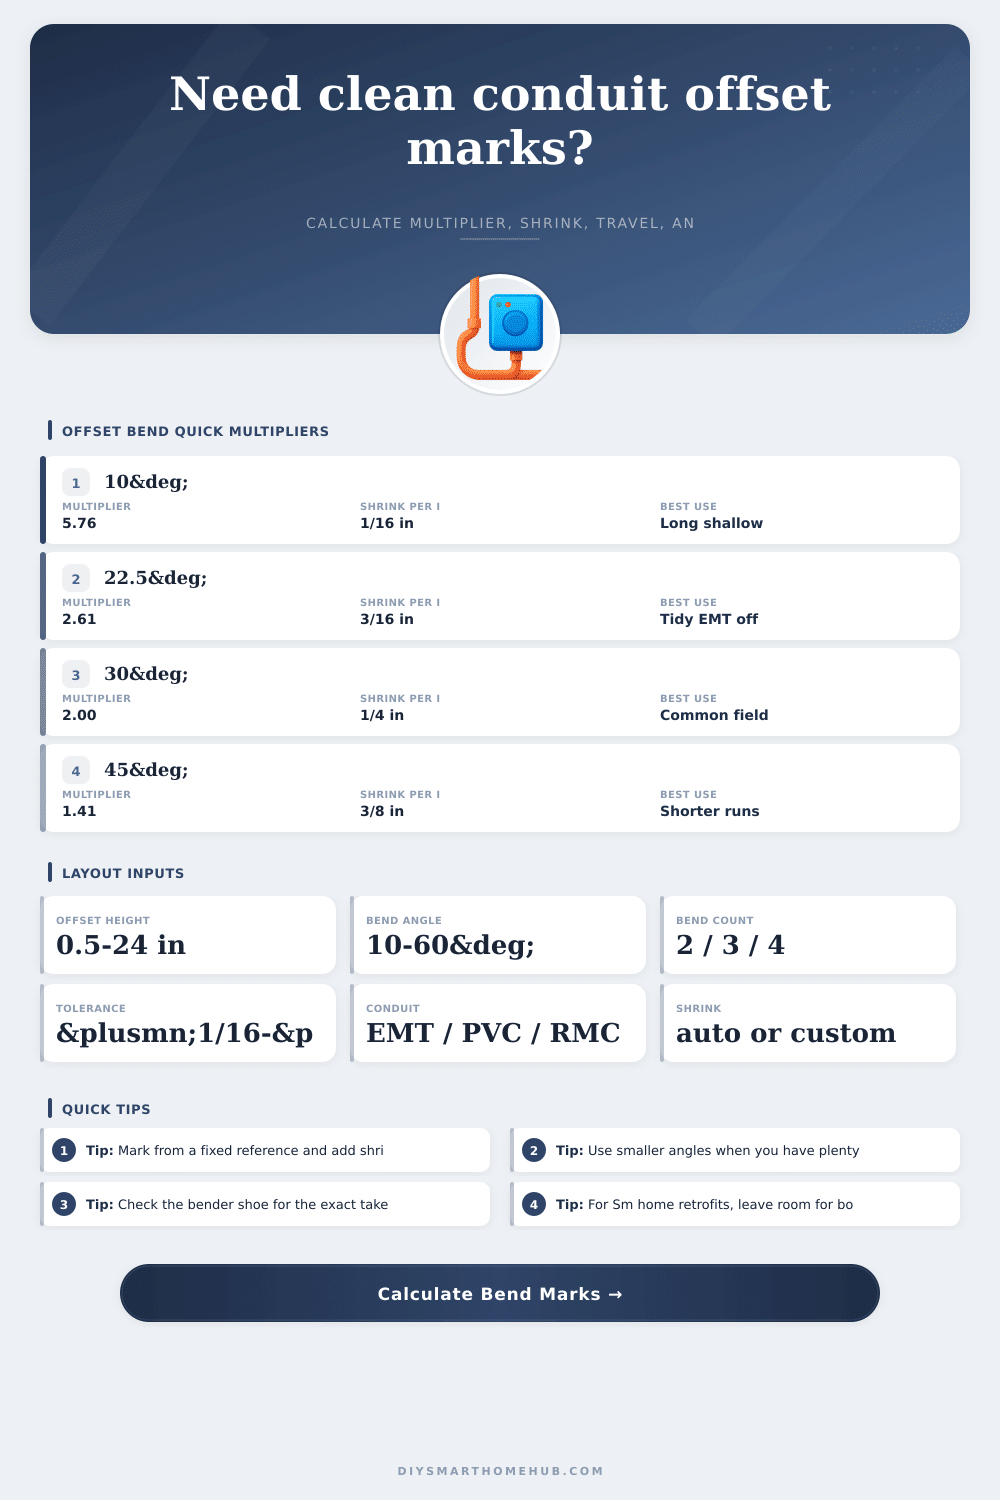
Plan conduit offsets and saddles by offset height, bend angle, shrink per bend, conduit size, obstruction width, bend count, kick distance, and layout tolerance. Results include the angle multiplier, bend travel, shrink allowance, and a mark layout check.
Fast presets Ready
Bend inputs
Calculation breakdown
Bend spec grid
Reference tables
| Angle | Exact multiplier | Common field shrink | Exact shrink per inch | Layout note |
|---|
| Conduit | Outside diameter | Planning radius | Typical use | Field note |
|---|
| Preset | Height | Angle | Bends | Why it fits |
|---|
| Bend pattern | Mark spacing formula | Shrink formula | Best use |
|---|
Bending tips
The offset height should be the needed centerline rise, not only the visible obstacle height. Add half the conduit outside diameter when clearance is tight.
A 22.5° offset uses more length but is easier to pull through and usually looks cleaner on smart home surface runs.
Mark arrows, stars, and rim positions before bending. Flipping the shoe between marks is the fastest way to make a mirrored offset.
Bender shoe radius, conduit springback, and material type can shift the final mark by more than the calculator tolerance.
The one thing I learned about bending metal is that once you cut conduit it’s done but you can still mark it down on paper. So make sure to measure twice. It’s like creating a straight line and then folding it over and shaping it so it will wrap around another object while leaving room for the wires running through. Your hand doesn’t always lie when you’re squeezing the bender handle really hard, but the geometry never will.
A multiplier are at the heart of any offset calculation. Seems like gibberish, but realy it’s nothing more than a bit of trigonometry in drag on the jobsite. So let’s say you have a 30 degree bend you’re looking at making and want to raise two inches with that turn. How much further along will you have to move horizontally? This is where the calculator comes into play; it crunches the numbers fast, so you do not have to remember sine ratios from algebra class or use a slide rule. You simply type in the angle and height and off it goes getting you amount of run between your marks.
How to Bend Conduit Like a Pro
The big gotcha for most folks are the bit about shrinkage. Shrink is the unseen reduction in length as you bend conduit. Think of it like if you walked forward while turning slightly to one side. Sure, you moved forward, but you was also sliding off to one side. Bend two pieces of pipe out and back down again, and the upper portion of the arc go further than does the straight-line distance from your starting point to your ending point. That’s shrink. That’s why the tool includes a compensation value in its first mark: to adjust for shrink. Make your offset without accounting for it, and you’ll be short of the mark you intended. So you either need to unbend, or else cut and re-thread. Neither is fun.
There’s also an aesthetic/space trade off when choosing the angle. Forty-five degree steeper angles curve more sharply, which might be hard to pull wire through later, but take up less total length. Ten or twenty two point five degree shallower angles will be easier on conductors but take up more area to accomplish. You can toggle through those options with the calculator to get exact numbers of what each would take up in horizontal inches. In a smart home retrofit where clean lines is important, a shallow angle typically looks nicer. However, it does cost you six additional inches of conduit length.
Another thing that tricks newbies is width of the obstruction. It’s not just about the angle; you are actualy clearing out a duct or pipe. Physical depth makes a difference. The calculator incorporates the width of the obstruction into the overall length of the layout and ensures there’s plenty of clearance for your bends. Kick distance (the straight section needed before the first bend to keep the conduit aligned and stable) is factored in as well. Not having adequate lead-in result in an unsightly bend and potentially buckling of the conduit against the strutting channel or wall.
Then there’s material. Thin wall EMT springs back compared to thicker walls, such as rigid metal conduit. By choosing the type of conduit, the tool changes its references. It is not about the underlying trigonometry, but it allows you to account for how things behave in the real world. PVC shrinks different than steel. Rigid metal conduit takes more force and often a larger shoe radius. Knowing this before you start the job prevents surprises when the bend doesn’t stay where your mark pen said it would.
Test critical bends on scrap, always. It’s a little thing but man does it matter in terms of confidence. The calculator will give you exact targets but the world outside isn’t going to be exactly the same as what you saw on paper. Is your bender handle a little loose? Was that conduit a little old? Or maybe it was a little cold? Once you test through the process, it takes any doubt away. Now you know how your particular tool operate.
Where do your personal marking habits tend to drift? Always make your marks with accuracy and then apply force. You can’t get the metal back once you’ve moved it. Lay them out on paper or cardboard first using results as your marks. Make sure they are the same distance apart in reality. Give yourself some allowance for human error but not too much that it gets sloppy.
An accurate, tight bend say you’re a pro. Loose guesswork looks bad when covered by trim and paint. Measure, mark, and then bend. Bending conduit properly doesn’t require being a math wiz. All it takes is knowing what the numbers mean and trusting them more than your gut. Figure out your rise. Choose an angle. Calculate your shrink. Draw some lines. And then bend. With intention. That is how you transform muddled problems into crisp pro-runs that endure for decades. They work without revealing their seams.