Backsplash Area Calculator
Estimate backsplash square footage, tile count, grout joints, trim, waste, and order quantity from wall runs, range zones, openings, outlet cuts, tile size, grout width, and pattern.
Kitchen presets
Wall runs and openings
Cuts, range zone, and trim
Tile, grout, pattern, and waste
Calculation breakdown
Tile/spec grid
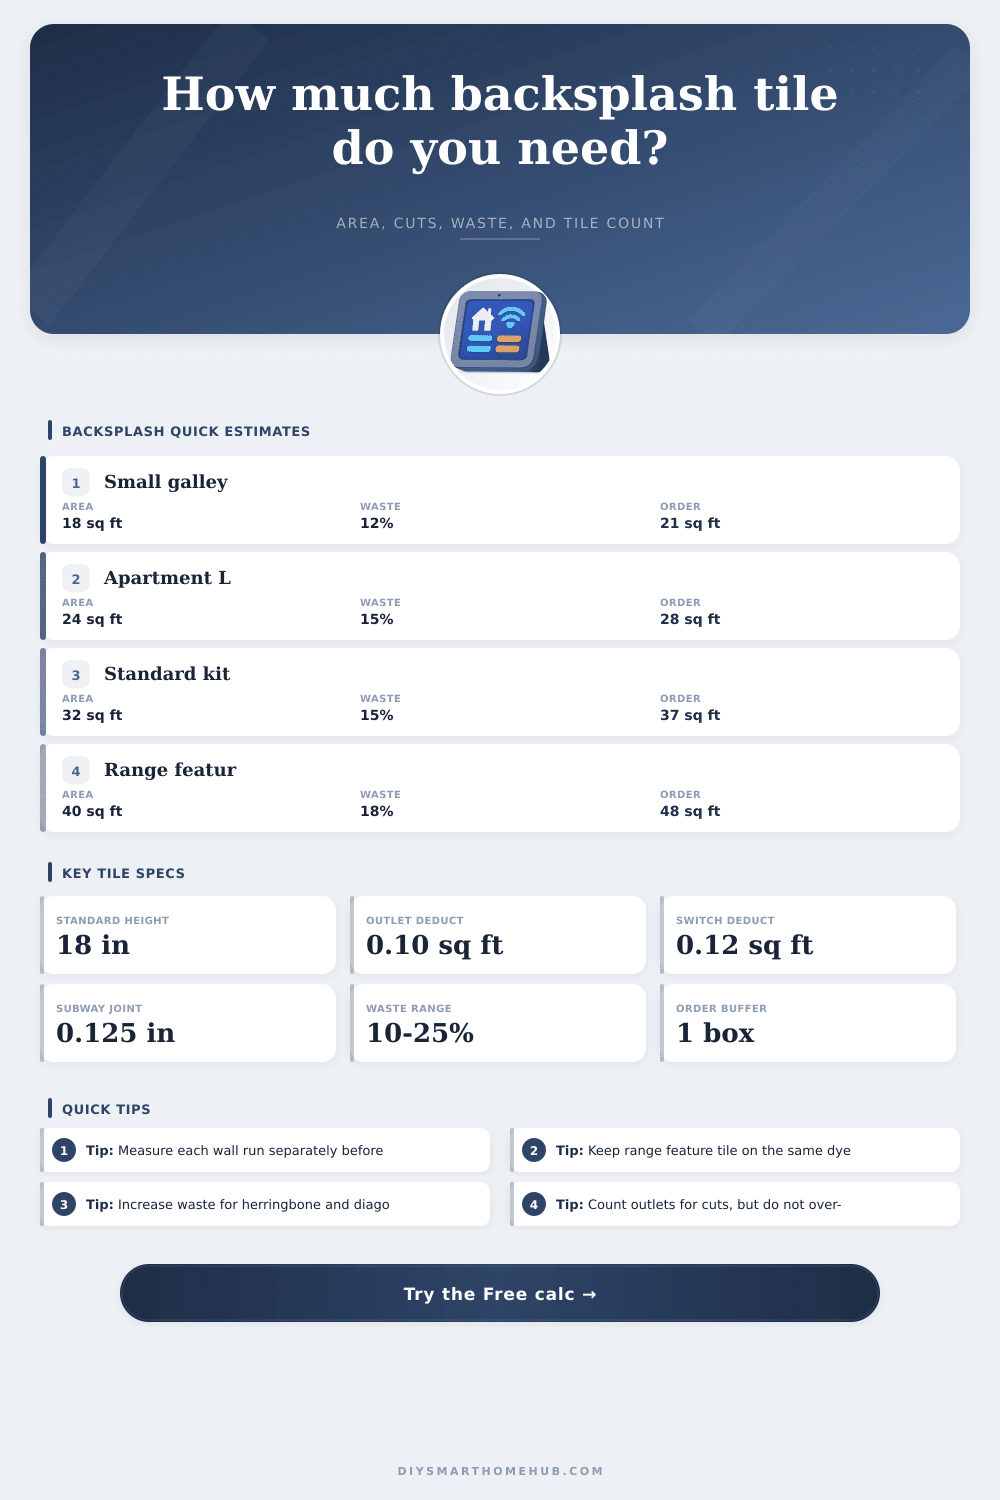
Backsplash size reference
| Kitchen type | Typical wall run | Typical height | Starter area |
|---|---|---|---|
| Apartment galley | 6-8 ft | 15-18 in | 8-12 sq ft per wall |
| Small L kitchen | 10-14 ft total | 18 in | 15-22 sq ft |
| Standard kitchen | 14-20 ft total | 18 in | 22-35 sq ft |
| Full-height splash | One feature wall | 36-72 in | 30-70 sq ft |
Pattern waste guide
| Pattern | Recommended waste | Cut complexity | Best for |
|---|---|---|---|
| Straight stack | 8-12% | Low | Modern tile with clean edges |
| Running bond | 10-15% | Medium | Subway tile and handmade looks |
| Diagonal | 15-22% | High | Square tile feature sections |
| Herringbone | 18-25% | High | Range focal points and accent walls |
| Mosaic sheets | 10-18% | Medium | Small formats and curved cutouts |
Tile size coverage table
| Tile size | Approx tiles per sq ft | Good joint | Notes |
|---|---|---|---|
| 2 x 8 in | 9.0 | 1/16-1/8 in | Long, handmade, more lippage checks |
| 3 x 6 in | 8.0 | 1/8 in | Classic subway tile |
| 4 x 4 in | 9.0 | 1/8-3/16 in | Great for vintage square layouts |
| 4 x 12 in | 3.0 | 1/8 in | Fewer grout lines, longer cuts |
| 12 x 12 sheet | 1 sheet | Factory set | Order by sheet or box coverage |
Deduction and trim allowances
| Item | Calculator allowance | Why it matters | DIY note |
|---|---|---|---|
| Outlet | 0.10 sq ft deducted | Small area, but several precision cuts | Keep spare half tiles near outlet walls |
| Switch plate | 0.12 sq ft deducted | Often wider than a duplex opening | Check stacked switches before cutting |
| Window in tile band | Measured width x height | Reduces area but adds edge work | Add trim or metal profile at returns |
| Exposed vertical end | One backsplash height per end | Needed for finished edges | Round trim up to full sticks |
Backsplash planning tips
Kitchens are all about design, except when it comes to backsplash. In the showroom, you get to choose a beautifull herringbone pattern or even some cool-looking subway tile; but what happens when you measure incorrect? A few inches difference mean a lighter wallet and leftover scraps. Sure, it needs to cover whatever gap exists between the cabinets and the counter. But it also has to account for each outlet, each reveal around windows, each cut required to navigate around corners.
Plug in your tile specs and wall runs and let the calculator do the math (above), no need to guess at conversions and waste factors. First, measure what’s really there, countertop level, not down at the floor where decades of settling can cause slight sloping or bowing in walls. Counters is generally mounted against one major run (behind the sink), plus either another wall near the prep or cooking area (return wall). Enter those dimension in the tool’s first section. For U-shaped or L-shaped kitchens, break out each section of wall separately.
How to Measure Your Kitchen Backsplash
And remember: Although most people use the classic eighteen-inch gap from cabinet base to countertop, go higher for a moddern aesthetic and lower for a cozier galley vibe, the one number that affects overall footprint the most. Remember those gaps! Pass-throughs and windows cut down on how much actual tile material you must purchase, but will make laying it far more complicated. With this tool, you can subtract those spaces to avoid spending money on square feet you won’t have.
Switches and outlets is more difficult. Though they only occupy little space, they demand exact cuts. You’ll see the calculator includes a tiny deduction for each outlet/switch, but also raises waste factor just a bit. That’s because novices tend to snap their most costly tiles when making cuts around electrical box.
Your pattern is what will determine how much waste you’ll get most of all. If you lay down some big format tile in a straight stack then maybe you can just spare ten to twelve percent for cutouts and mistakes. Go for something trickier like a herringbone or diagonal layout and you’re looking at somewhere around twenty-five percent. By selecting your pattern, the calculator will automatically account for this and help keep you from ordering too little because you didn’t anticipate how many more angled cuts would be necessary. Better to open up a box later than discover on day two of install that you don’t have enough tiles for those tricky corner.
Then think about the range hood area. This is usually a spot where we want to use some kind of feature tile or just a slightly different material to guard against heat and grease splatter. However, that section often has more height than normal. That’s fine, the calculator will ask how much added height it should account for so you only need to order what you’ll actualy need plus a little extra for repairs down the road.
Remember that a dye lot is a manufacturing batch. Make sure to order everything at once to ensure dye lot consistency…always make sure to get a bit more than what you need so if something gets broken 3 years later you can replace with matching tile. You should of planned for this.
Other costs that aren’t so obvious include trim work. To finish off exposed vertical edges, you’ll want to cap them with either metal profiles or bullnose caps. The tool estimates the linear footage required based off how many exposed ends are in your layout. This helps you plan for this finishing touch without any nasty surprises at the hardware store.
Tile count depend on grout lines as well. A wider joint leaves a little extra space between each tile, which can have a small impact on how many tiles fits into a certain amount of space. When you’re working on a small kitchen where every inch matter, precision goes a long way.
What is the moral of the story? It costs less to plan then it does to pay for mistakes. So spend some time taking measurements. Double-check your outlets and windows match up with your drawing. Use these reference tables to compare the size of your kitchen against typical layouts and get a bit of sanity check on your numbers, are they making sense?
When you know how many boxes to buy, your square footage, and how much tile you need, you can focus on what really matters. You can find a look that makes cooking feel less like work and more like being at home, contributing to the story of the house. Measuring accuratly transforms a stressful reno into a doable weekend project, ending with clean lines and no money down the drain.