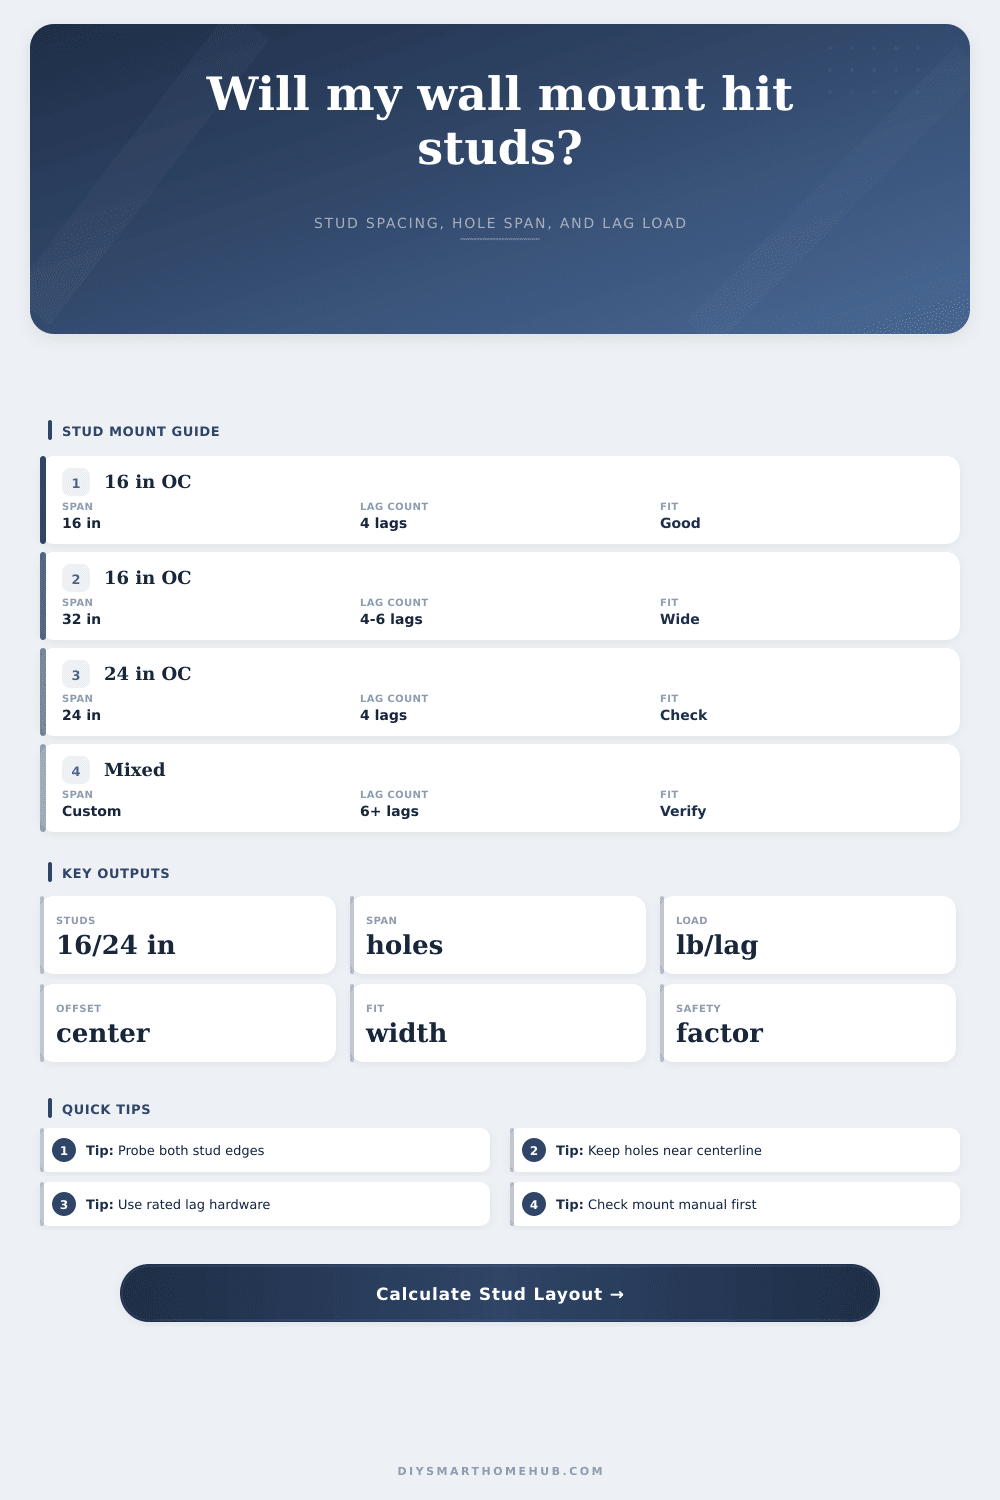
Wall Mount Stud Spacing Calculator
Map 16 inch or 24 inch on-center stud lines, test mount hole span alignment, estimate centerline offsets, and check load per lag screw with a safety factor.
Usable stud positions inside the wall width.
Offset from hole columns to selected studs.
Object and mount fit inside the wall limits.
Wide plates may cover a third stud center.
Stud spacing and hole span checks
| Wall framing | Stud centers | Hole span match | Planning note |
|---|---|---|---|
| Standard interior | 16 in OC | 16 or 32 in | Most TV plates can reach two studs. |
| Wide framing | 24 in OC | 24 or 48 in | Check plate width before drilling. |
| Older or mixed | Irregular | Custom | Measure every stud center individually. |
| Blocking added | Project based | Flexible | Best for heavy arms or cabinets. |
Mount load planning ranges
| Mount type | Load factor | Typical lags | Watch point |
|---|---|---|---|
| Flat TV plate | 1.00x | 4 | Keep holes centered in studs. |
| Tilt mount | 1.15x | 4 | Confirm lower lags are in wood. |
| Shelf or cabinet | 1.35x | 4-6 | Depth adds leverage to the wall. |
| Full motion arm | 1.60x | 4-6 | Extended arms raise tension demand. |
Preset examples
| Scenario | Stud OC | Plate width | Load |
|---|---|---|---|
| 55 in TV | 16 in | 26 in | 95 lb |
| 75 in TV | 16 in | 34 in | 145 lb |
| Network cabinet | 16 in | 28 in | 125 lb |
| Garage rack | 16 in | 48 in | 180 lb |
Lag screw centerline tolerance
| Offset from stud center | Status | Why it matters | Action |
|---|---|---|---|
| 0 to 0.25 in | Good | Near center of stud. | Proceed after predrill check. |
| 0.25 to 0.50 in | Careful | Still likely inside stud core. | Probe edges and correct angle. |
| 0.50 to 0.75 in | Tight | Close to edge on 1.5 in studs. | Shift mount or use another slot. |
| Over 0.75 in | Miss | May be outside stud center zone. | Do not rely on that hole. |
Imagine this: You’ve got a big ol’ tv in one hand and a drill in the other. In front of you is a nice solid wall, and the box says to mount it to the studs. Except, you can’t see those studs because they’re behind the drywall. Ugh. Anybody who has tried to hang anything substantial up without help knows the worry that comes with it.
Enter the calculator. Plug in your dimensions and let the calculator do the math. Where to place your mounting holes? That’s shown. Where’s the wood? That’s shown too.
How to Use the TV Mount Calculator
Keep in mind that wall framing can vary. You should of compensate for any differences in how your house was built. In most houses today, the studs is spaced on-center at 16 inches apart, meaning the center of each stud are separated by 16 inches from the center of its nearest neighbor. However, some commercial and older building may have been framed with 24-inch centers. The app include these common settings and gives you an option to input your own offsets, but do note that there’s often no exact eight-inches from the corner where the first stud is located. It could be six inches or maybe it’s ten. Whatever the number is, if you get the starting point off, then all of your measurements afterward will be wronger.
Once you know where the studs are, then it’s time to think about the mount plate. For most TVs, especially TVs in the 55-inch range, the plate needs to be wider than the bezel on your screen. To figure out that part, the calculator ask for two numbers: the width of your plate and the distance from one hole to another (the hole span). So say your studs are separated by sixteen inches, but your holes is eight inches apart. No problem. Slide the mount over so it hits the wood and it’s done. Drill through the middle of the stud. Done. But what if your holes are tighter than that, or your plate is wider? Well then you need to slide the mount left or right until you reach the wood. That’s what the tool figures out for you and tells you exactly how far off center the TV will hang. It’s a tiny tweak, but that tiny tweak will make all the difference in how it looks when it’s done. A quarter inch doesn’t matter to most folks; a whole two inches and suddenly the tv look off center. This is especially true if there is some sort of cabinetry or fireplace right under the screen. If it’s only a bit off, then you may be able to account for it once the tv is mounted, since the mounting plate has those handy little horizontal slots where you can slide the tv back and forth once it’s up on the wall. That feature also gets taken into account by the calculator so that you know the physical distance between the studs and where the mount would of have to go.
The other part of the equation is load capacity. If you’re hanging something from a full-motion arm that stretches out twenty inches from the wall, it’s not the same as screwing into a flat mount directly onto the wall. The farther away the mounting hardware is from the wall, the more leverage it has, meaning much greater tension on the top set of screw. For that reason, the tool multiplies your total load (TV plus whatever soundbar(s) you have) by some load factor, depending off what kind of mount you’re using. While a simple tilt mount will bump up the load maybe fifteen percent, a full-motion arm can increase the stress by sixty percent or more. So you input the total weight, TV plus any soundbars, then divide that by the number of lag screws you’ll be using. Then this will give you the load per lag screw. Now just compare it to the stud density and the rated capacity of your specific screws. The output from here will tell you how much margin you have remaining. A safety factor less than two mean you’re cutting it close. Consider adding more screws, or perhaps thicker lags. Over-engineering a wall mount is better then discovering broken electronics on your floor.
Check your studs (either with a physical stud finder or by knocking on the walls) first. Because homes are not built according to the rules laid out in the calculator, there will be oddness going on. Doors, windows and corners can throw off the normal spacing of the frame. Also keep an eye out for pipes or electrical wiring before you slam that 3 inch screw into the wall! When you know the wood should be where the numbers say it is, go ahead and drill confidently. We want that screen to be level, high up, and positioned over the studs it sits on.