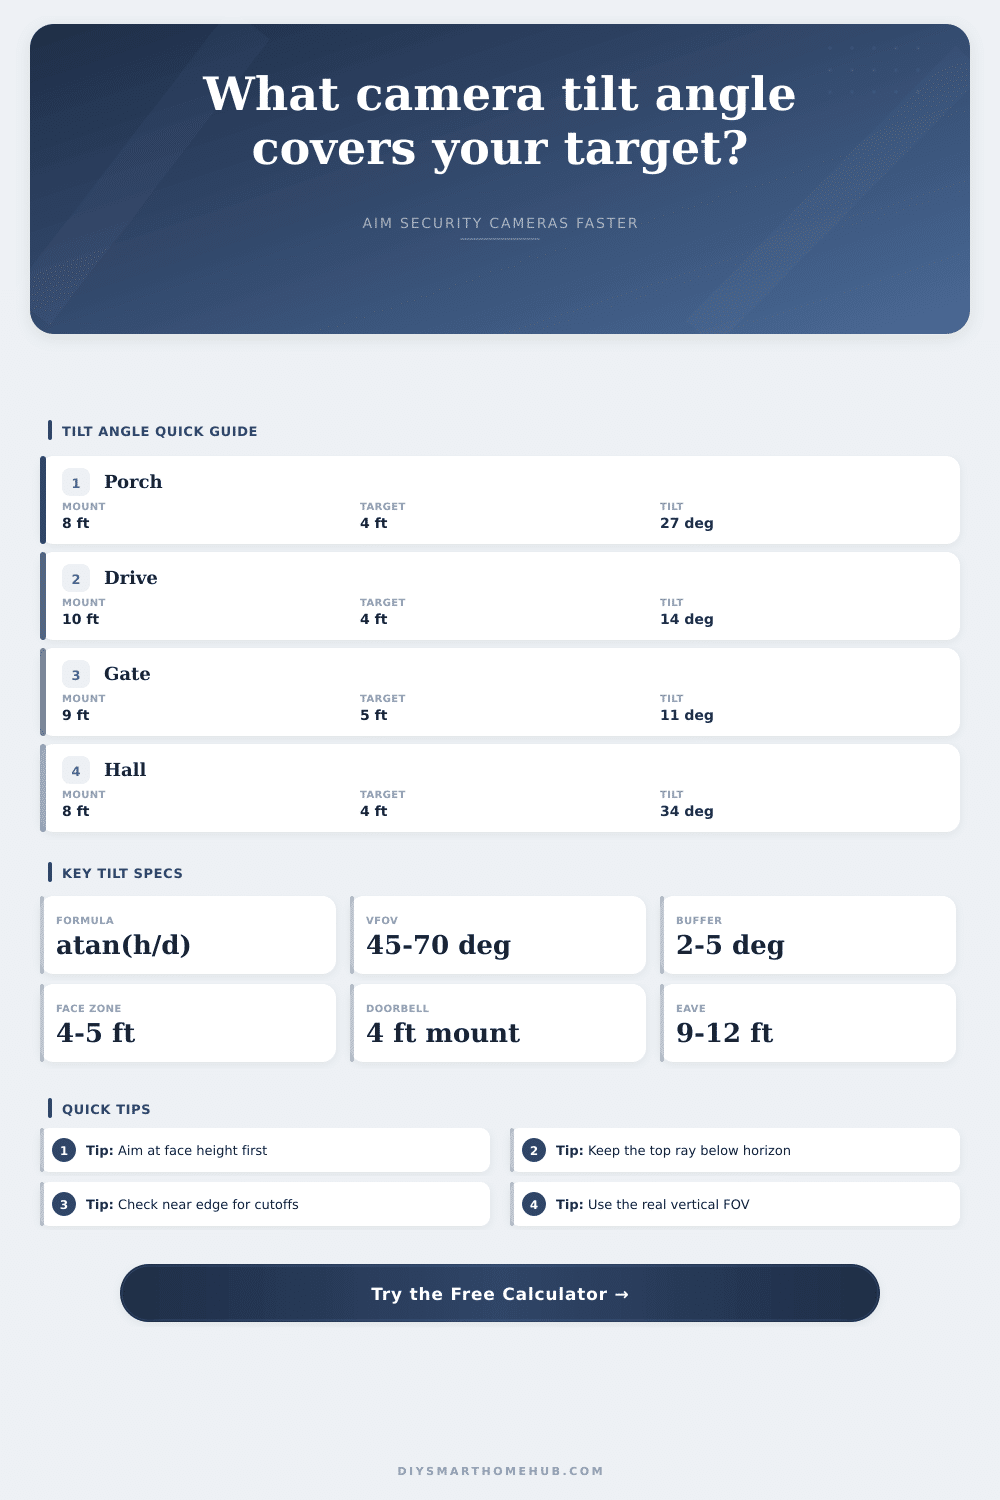
Camera Tilt Angle for Coverage Calculator
Estimate the downward camera tilt needed to center a target height, then check vertical FOV near and far limits, horizon exposure, coverage depth, and minimum mounting height.
Formula breakdown
| Camera style | Typical VFOV | Best target distance | Horizon risk | Planning note |
|---|---|---|---|---|
| Doorbell wide | 60° to 75° | 3 to 12 ft | High if level | Useful for packages and visitors close to the door. |
| Turret wide | 50° to 65° | 8 to 35 ft | Moderate | Common eave camera range for porches and drives. |
| Bullet medium | 42° to 55° | 15 to 55 ft | Moderate | Good when face detail matters more than near ground. |
| Varifocal narrow | 25° to 42° | 30 to 90 ft | Lower | Smaller VFOV makes horizon avoidance easier. |
| Ceiling fisheye crop | 80° to 110° | 4 to 18 ft | High | Needs steep downward aim for finite far coverage. |
| Scenario | Mount height | Target height | Target distance | Recommended tilt | Use case |
|---|---|---|---|---|---|
| Porch visitor | 8 ft | 4.5 ft | 8 ft | 23.6° | Face-height target near a front door. |
| Driveway car | 10 ft | 3.5 ft | 28 ft | 13.1° | Vehicle approach line or plate-height check. |
| Side gate | 9 ft | 4.5 ft | 18 ft | 14.0° | Walkway target where horizon can creep in. |
| Garage bay | 9 ft | 3 ft | 10 ft | 31.0° | Indoor ceiling mount over a parking area. |
| Package zone | 4 ft | 0.5 ft | 5 ft | 35.0° | Doorbell or low wall camera aimed down. |
| Current tilt | VFOV | Top ray | Bottom ray | Coverage behavior |
|---|---|---|---|---|
| 15° | 55° | -12.5° | 42.5° | Top ray reaches sky, so far limit is not finite. |
| 25° | 55° | -2.5° | 52.5° | Still horizon exposed; increase tilt or mount height. |
| 35° | 55° | 7.5° | 62.5° | Finite near and far target-plane limits. |
| 45° | 65° | 12.5° | 77.5° | Strong ground coverage, shorter far depth. |
| 60° | 35° | 42.5° | 77.5° | Steep narrow view for entries or package zones. |
Have you ever been frustrated by watching security camera footage only to see nothing but sky (or just the top of your neighbor’s fence)? That’s because most folks install their cameras without taking even most basic geometry into account. They guess at the direction lens points, cinch down the camera bracket and pray. Often times that results in something that looks great on paper but doesn’t pan out in practice.
Why does it matter? Because if you don’t get angle correct, you’re not going to get anything useful. You’ll fill up your storage with useless views of scenery. Essentially it’s just some basic trigonometry that anyone with the variables can perform, after they grasp what they all mean.
How to Aim Your Security Camera Correctly
You have to know distance of your target. You also need to know its height and the height at which you’re taking your shot. For shooting faces at the front door, for example, that target height would be about four and a half feet up off ground. Want to shoot license plates down the driveway? Then you may aim lower still.
After plugging in your numbers, the calculator above do the work for you, no more guesswork on conversions or coefficients required. It’ll take your physical distances and spit out an exact downward tilt angle that puts your subject right smack dab in the middle of frame.
But here’s where it gets interesting: The vertical field of view. This represent how many degrees of the world fit into the frame from the top down at any time. While some doorbells shoot 70 degrees in a very wide angle, some bullet cameras looking out across a gate in the distance may only capture 45. And that can completely change what direction to aim. Pointing at something above your head and using a narrow lens results in half or more of your resolution being wasted on a blank patch of sky.
You want to have enough downward tilt so that the highest ray of your image remains below the horizon. Anything else, and you’re going to be capturing clouds rather than human. The same goes for most other installers who have an obsession with aiming right through the middle of frame. They aim directly at mailbox or door handle. Except they didn’t realize there’s a cone coming out of lens. It is not a laser beam traveling in one straight line.
The cone touches down way closer to house along its bottom edge compared to its center point. It extends farther away along the top edge. The “target distance” determine whether to use a steep or shallow angle. This allows the near limit to reach onto porch without cropping off your package-landing steps, while preventing the far limit from stretching so thin as to be ineffective.
But there’s also what we call “mounting height vs. Lens capability.” If a camera is mounted high on an eave, it can have more space to play with, but it face challenges when it comes to pixel density and distortion. At a distance of 30 feet, for example, faces will occupy very few pixels. This only works if you have extremely high resolution. Doorbell mounts address the first issue (resolution) but raise new ones about coverage width. Unless you’re angling down correctly, you won’t be able to see the person who walks up the path, nor the package they leave on the mat.
The little setting I’m referring to here is called the horizon avoidance buffer within the tool. A couple extra degrees of added downward tilt can make a difference. It prevents your video feed from being washed out by glare or bright sun during the day and helps you capture passing cars instead.
Drilling holes in walls is not free. Consider the trade-offs. Do you want a bigger vertical field of view to cover more ground, even if it means you have to point higher? Or do you prefer a narrower view that is shallower but requires precise pointing so you don’t lose your view?
The right choice isn’t as much “perfect” as it is understanding what your lens actualy sees. Then when you know how the tilt impacts the vertical spread, you don’t have to guess anymore. You can put up the camera knowing that all the important parts of the scene is going to be seen. And that turns your wasted bandwidth into useful surveillance data instead of blurry footage.
So the next time you install a camera, grab a tape measure first. Decide where you want the center of attention to be and then work backwards from there. Adjusting a bracket before sealing it is much easier than replacing a lens after.
When you get this geometry correct, your system works as intended from day one. You would of wanted to avoid staring at an empty sky or wondering why the footage misses the point of entry. Aim for what matters and the lens will deliver precisely that.