Driveway Camera Coverage Distance Calculator
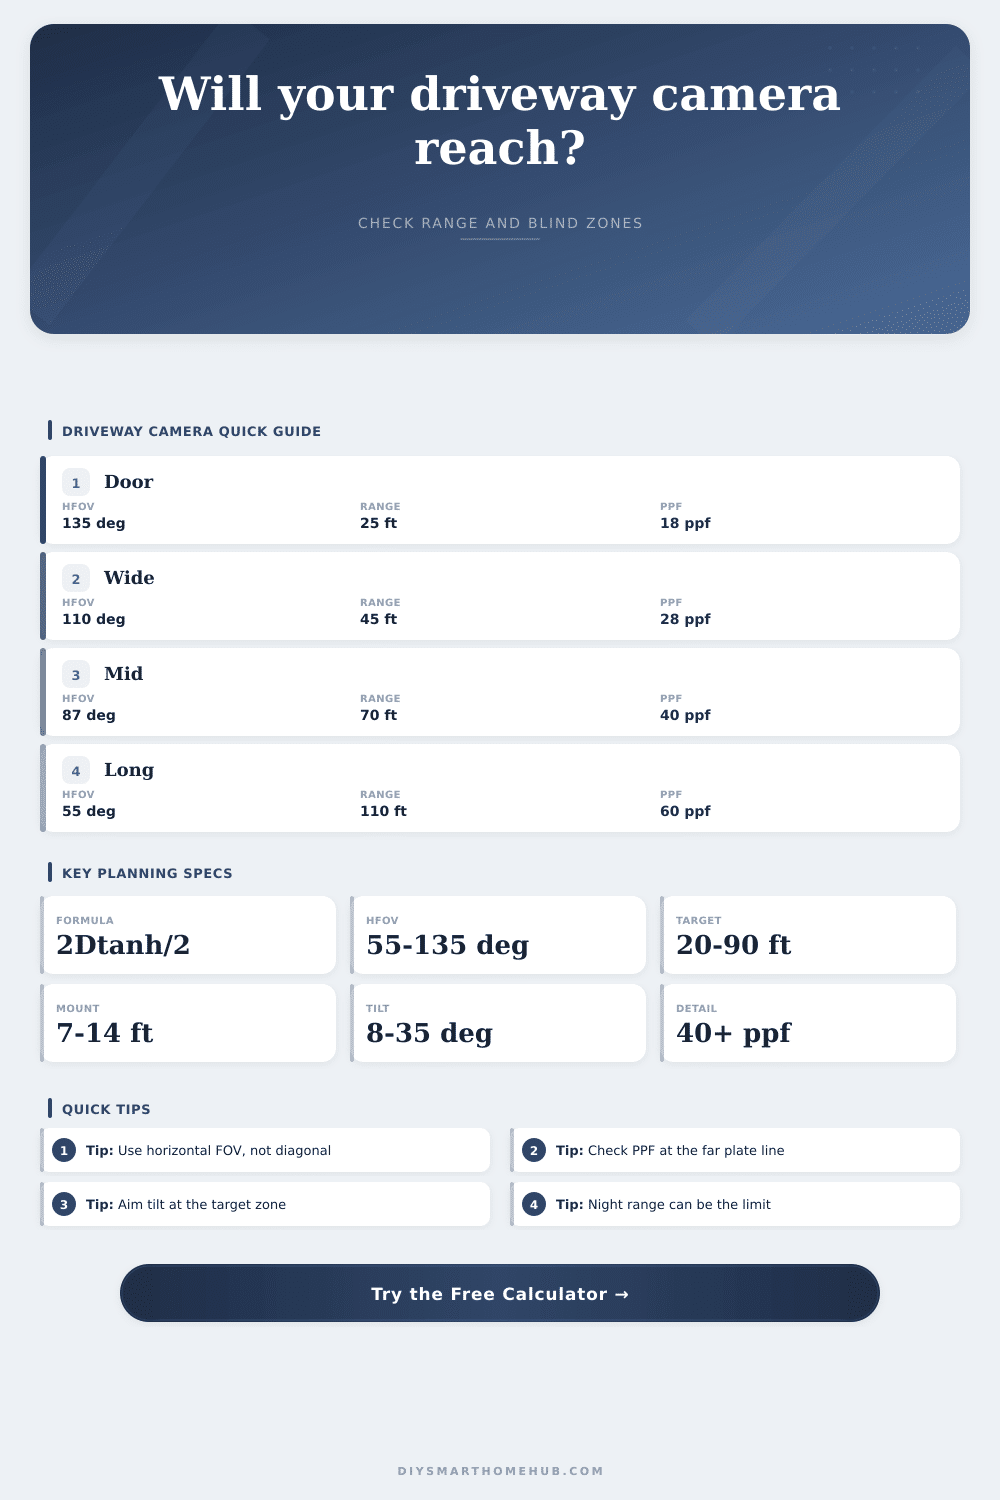
Check whether a driveway camera can see the full parking lane, far approach, and target detail by combining camera range, horizontal field of view, mounting height, tilt, illumination reach, PPF, and blind-zone geometry.
Formula breakdown
| Profile | HFOV | Vertical FOV | Horizontal pixels | Day range | Night reach | Best driveway use |
|---|---|---|---|---|---|---|
| Doorbell wide | 135° | 80° | 2560 px | 30 ft | 25 ft | Porch and short apron awareness |
| Wide 2.8 mm | 110° | 62° | 1920 px | 55 ft | 45 ft | Two-car drive close to garage |
| Balanced 4MP | 87° | 48° | 2560 px | 90 ft | 70 ft | Typical driveway and front approach |
| 4K driveway | 70° | 40° | 3840 px | 110 ft | 90 ft | Longer drive with useful detail |
| Narrow plate view | 55° | 32° | 3840 px | 130 ft | 110 ft | Gate or plate-line view |
| Varifocal tuned | 62° | 36° | 3840 px | 145 ft | 120 ft | Adjusted aim down a long approach |
| Floodlight camera | 120° | 70° | 2688 px | 65 ft | 55 ft | Wide lighted parking pad |
| Long turret | 50° | 30° | 4512 px | 150 ft | 130 ft | Long lane or entry gate detail |
| Detail band | Planning PPF | Useful for | 40 ft wide scene | 70 ft wide scene | Distance note |
|---|---|---|---|---|---|
| Detection | 10 to 20 ppf | Motion and vehicle presence | 400 to 800 px | 700 to 1400 px | Broad but low detail |
| Observation | 20 to 40 ppf | Clothing color and vehicle type | 800 to 1600 px | 1400 to 2800 px | Good for overview |
| Recognition | 40 to 60 ppf | Faces near the camera or readable objects | 1600 to 2400 px | 2800 to 4200 px | Needs tighter view |
| Identification | 60+ ppf | High-detail target line checks | 2400+ px | 4200+ px | Often needs narrow HFOV |
| Scenario | Driveway | Profile | Target distance | HFOV width | Estimated PPF | Main constraint |
|---|
Why: Because you want a clear view of your property. So you mount a security camera high on the wall to avoid tampering. You point the lens down the driveway where it can’t miss the street. You open the app and…oh dear. Half the screen shows your house and the distant end of the driveway is a blurred gray smear.
That’s because you didn’t set it up correcty. It’s not about megapixels or night vision specs; it’s mostly geometry. Most of this come down to geometry.
How to set up your camera for the best view
Plugging in some measurements to the calculator above will let it crunch the numbers for you. This avoids having to guess if that wide-angle lens will pick out a face at a 50-foot distance, or merely blur into a blob where you can only tell its a car.
Most people confuse detail with field of view. That makes sense; a wider angle in the horizontal direction means that you are looking at more area, so “more” should be better, right? Well… yes, but only up to a point (actualy several points). The physics won’t allow it.
Your number of pixels remains constant. As the angle gets wider, those pixels is spread out over a larger area. If you use an ultra-wide lens and have a two-thousand-pixel sensor, your driveway may get only ten pixels’ worth of attention per each foot along its length. It is enough, perhaps, to know there is something back there. Rarely enough to tell exactly what it is or whose license plate it has.
The chart on the page spells it out: How narrowing your view trades off width against denseness. What do you really need to see out there, way down the road?
Another important factor for driveways is height/tilt. We all feel more secure when the camera is mounted high, but mounting it so high causes a dead zone right beside house, making it look up at everything on the ground. If we mount it lower, the visible band across the ground move closer to the house, so the area covered won’t extend as far.
So how do we calculate? It’s a bit of a math puzzle, and the solution is to make up for it with increased tilt down angle. Compensate too much however, and you’ll have no coverage whatsoever at the far end of the drive. It’s a balancing act…how close to cover the near zone vs how far out to see the distant plate line?
A typical residential eave sits somewhere between 7-14 feet off the ground, which is why most profile standards assumes a certain range in height.
At night, lighting makes all the difference. Your camera’s advertised range for daylight could be a hundred feet, but when it switches over to its infrared illuminators it can only do half that. If your driveway is dark asphalt, then it will absorb light and reduce actual range even more. Light-colored stone or concrete will reflect better and extend the reach just a bit more.
To account for this, the tool allows you to compensate for either ambient light or reflective surfaces. These are important because you will often fail to detect things at night well before their optical resolution would allow. So while you may be able to see someone’s face with enough pixels during the day, at night they’re just a blob on a heat map.
In practical terms, you must compromise. Most cameras is too small to cover everything from fine details to wide context. Some have done this successfully by using two camera, one wide and one narrow, both directed at valuable targets such as the mailbox or front door.
So if your math tells you you’ll get low pixels at fifty feet, don’t spend more money on a higher resolution lens. Instead, reduce your field of view or simply back up the camera a bit. You’re not trying to record every square inch of space with crystal clarity. You want to be able to identify whatever happens.
In other words, a closeup shot of the garage apron, even without the far gate being seen, is preferable to a wasted lens over an empty lawn. Set your target distance first, then work your way back at different angles and let the math guide you toward your gear.
You should of checked your angles before buying luxurius equipment.