Picture Hanging Height Calculator
Calculate artwork centerline, hook height, top and bottom edges, furniture clearance, and gallery spacing from frame size, room type, wall height, hardware drop, and grouping count.
📌Room And Gallery Presets
📏Artwork, Wall, Furniture, And Hardware Inputs
Picture Hanging Height Results
The calculator balances eye-level centerline, furniture clearance, wall clearance, and hardware drop.
Formula Breakdown
🔧Hanging Hardware Spec Grid
📊Reference Tables
| Room type | Centerline range | Furniture gap | Use case |
|---|---|---|---|
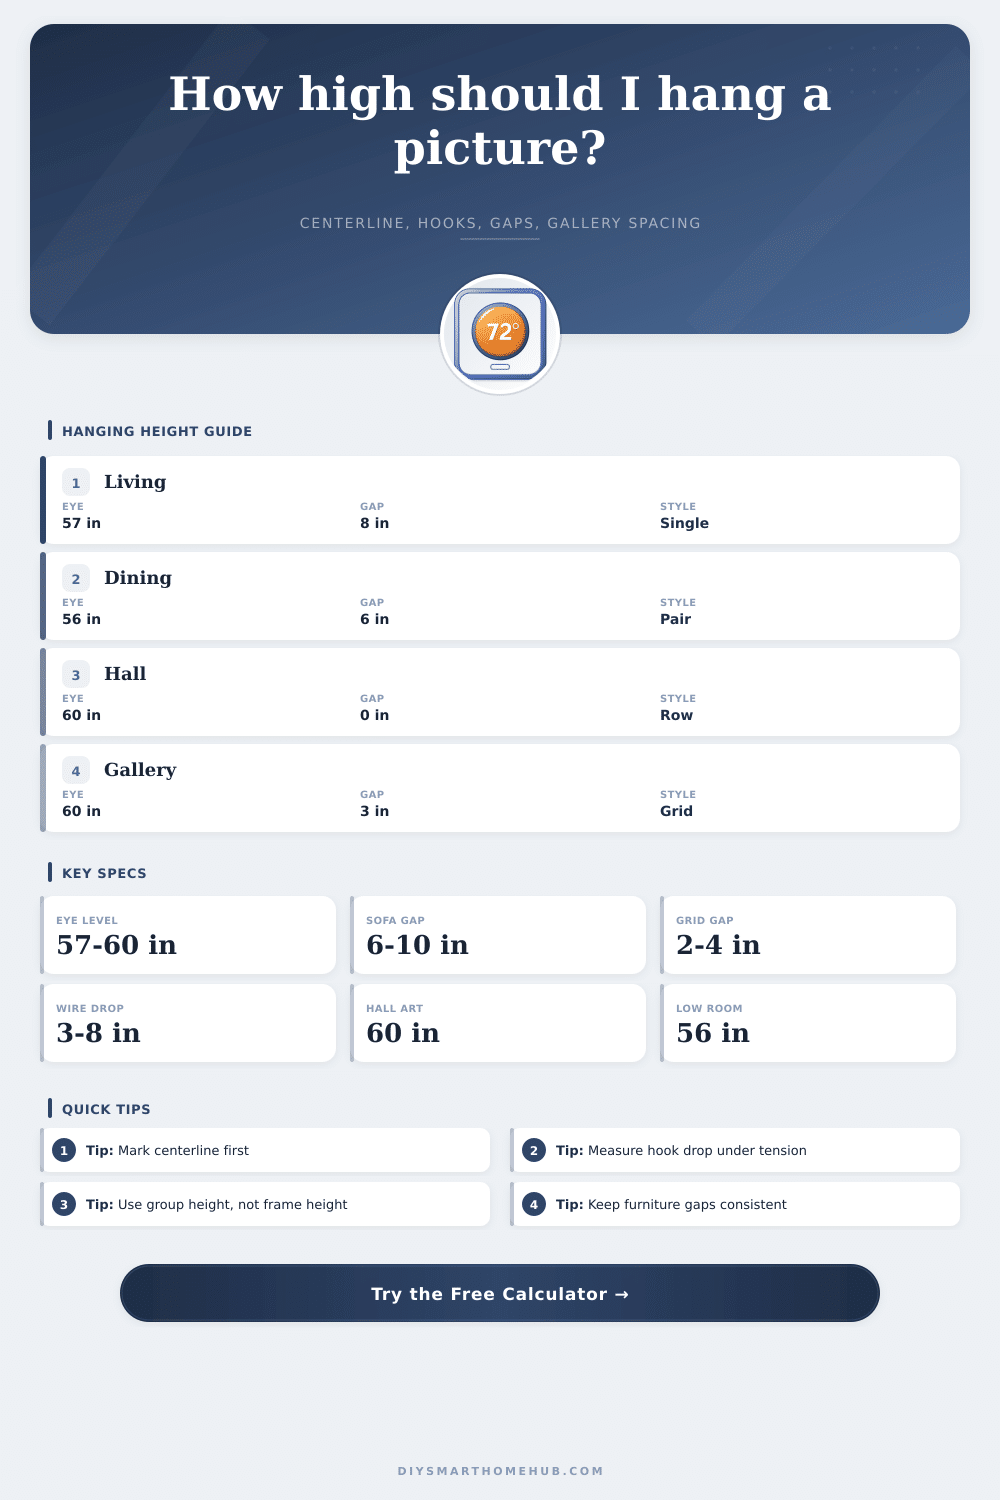
| Living room | 57 to 60 in from floor | 6 to 10 in above sofa | Standard framed art and canvas layouts |
| Dining room | 56 to 58 in from floor | 6 to 8 in above console | Slightly lower sightline while seated |
| Hall or entry | 58 to 62 in from floor | Open wall or narrow furniture | Standing viewing and circulation walls |
| Kids room | 48 to 54 in from floor | 4 to 8 in above furniture | Lower eye level and smaller frames |
| Gallery style | Column formula | Spacing formula | Best for |
|---|---|---|---|
| Single artwork | 1 column | No internal spacing | One anchor piece over furniture |
| Horizontal row | Count as columns | Gap x 0.75 | Triptychs, print rows, hallways |
| Even grid | Ceiling of square root of count | Gap x 0.60 | Matching frames and photo grids |
| Salon cluster | Ceiling of square root of count x 1.15 | Gap x 0.50 | Mixed sizes planned as one footprint |
| Hardware | Drop estimate | Hook mark formula | Planning note |
|---|---|---|---|
| Sawtooth hanger | 0.5 to 1 in | Top edge minus drop | Good for small frames with low sag |
| D-rings | 2 to 5 in | Top edge minus measured ring point | Stable for medium and heavy frames |
| Picture wire | 15% to 22% of art height | Top edge minus tensioned wire sag | Measure with the wire pulled upward |
| French cleat | 1.5 to 3 in | Top edge minus cleat catch point | Keeps large pieces level |
| Preset | Wall and art | Group | Target result |
|---|---|---|---|
| Sofa Artwork | 96 in wall, 40 x 30 in art | Single | Furniture gap controls centerline |
| Dining Pair | 96 in wall, 24 x 30 in prints | Two in row | Lower dining centerline |
| Six Frame Grid | 108 in wall, 16 x 20 in frames | Six in grid | Group centerline, not single frame |
| Salon Cluster | 120 in wall, 18 x 24 in average | Nine frames | Tighter spacing and taller footprint |
💡Picture Hanging Tips
The standard museum rule is to position the centerline of the artwork so it’s somewhere between 57 and 60 inches above floor, about eye level when you’re standing up straight. And that’s fine, except most people hang their stuff too high anyway. Why? Because they measured from the top edge of frame, not the center! This simple geometric mistake makes what might have been a beautiful piece of artwork look like a visual shrug.
Once you’ve entered your dimensions into the calculator above, it will do all the math for you (saving you from guessing and placing nail here or there). Understanding what you’re actualy measuring is the key.
How to Hang Art at the Right Height
For example: if you have an oversized console table right under the spot where you’d like to hang the art, you wouldn’t want to use centerline of the photo at 57 inches (that would be weirdly disconnected). It’s all about the space between the frame and the furniture. A consistent six to ten inch breathing room seem to work well, keeping design grounded.
That’s where this tool comes in, balancing both requirements and illustrating where your centerline adjust with your furnitures heights. For instance, if you have a particularly tall sofa, the art has to move upwards to provide that same visual cushion. It’s such a subtle adjustment, but it make all the difference in the feel of the wall.
There’s another level of complication, one involving hardware choices most home-owners don’t consider till they’re grasping a hammer: the centerline you calculate isn’t usually identical to the hook mark. Because wire sags a few inches under tension, you has to factor in the drop from frame top edge to where the hanger/wire will meet the nail. More accurate hangers like D-rings also demands careful measuring. To avoid crooked-hanging low art due to underestimating your hardware drop, check out this difference laid out on the page.
The best advice? Measure the drop precisely before you drill; a tape measure pressed against the back of frame reveals truth that a guessed number won’t.
Multiple frames require thinking about groups of images instead of single ones. Instead of deciding about each picture separately, consider them all at once (like a big shape). And so the centerline isn’t the midpoint of each image; it’s the midpoint of whole collage. Looser spacing between pictures give them more room to breathe (like a cluster in a salon), and tighter spacing makes a grid feel more considered.
The calculator accounts for both types of layout and number of pictures, and helps you see what the total space look like before you go through the trouble of punching holes in your drywall. Filling extra holes is harder than moving paper/frames around on the wall.
Arithmetic isn’t everything: it’s also about context. Walkthrough areas like hallways tend to need to be hung up higher (since no one is going to sit on floor to look upward). Seating areas such as dining rooms may want something hung a bit lower so you can still talk across table. And kids’ rooms absolutely need to have the middle dropped so that hanging matches their eye level. There are no hard-and-fast rules, only helpful guidelines for making a space feel more human.
For those types of situations there is presets to get you into the general ballpark. Then you’ll see how it looks with your own furniture and wall height and adjust accordingly.
So, in conclusion: the balance of instinct and structure, that’s what hangs art is all about. Math provides the solid beginning; then use your eyes to decide. Back up. Consider the visual rhythm. Look at how the piece relates to its frame, the furnitures, and the surrounding negative space. When something looks good, it generaly is. Begin by centering on the centerline, respect the drop of the hardware, and follow the visual rhythm home.